Skip to main content
520-310-9959
Home
Services
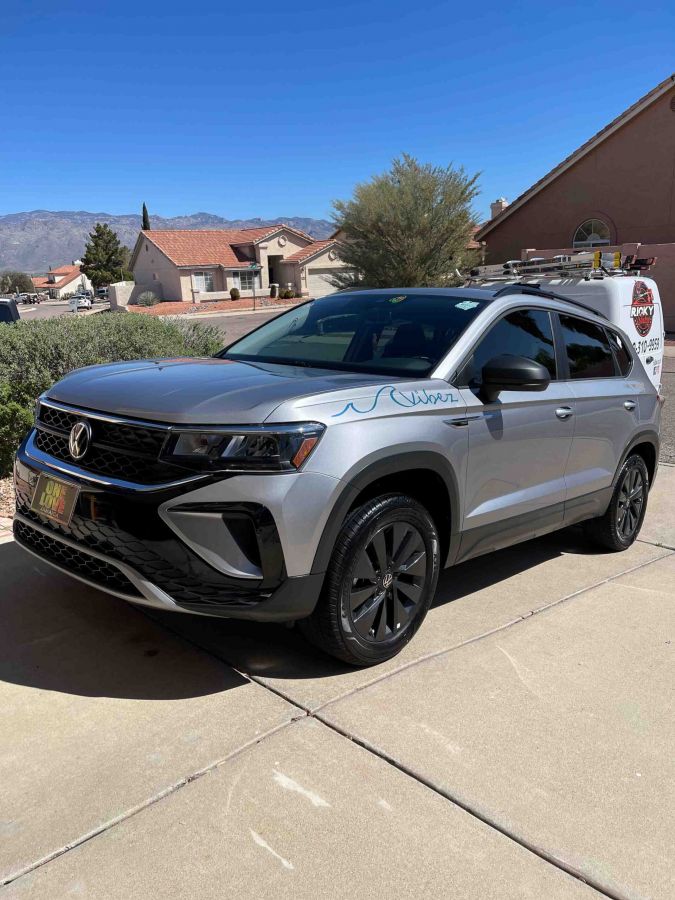
Vehicles
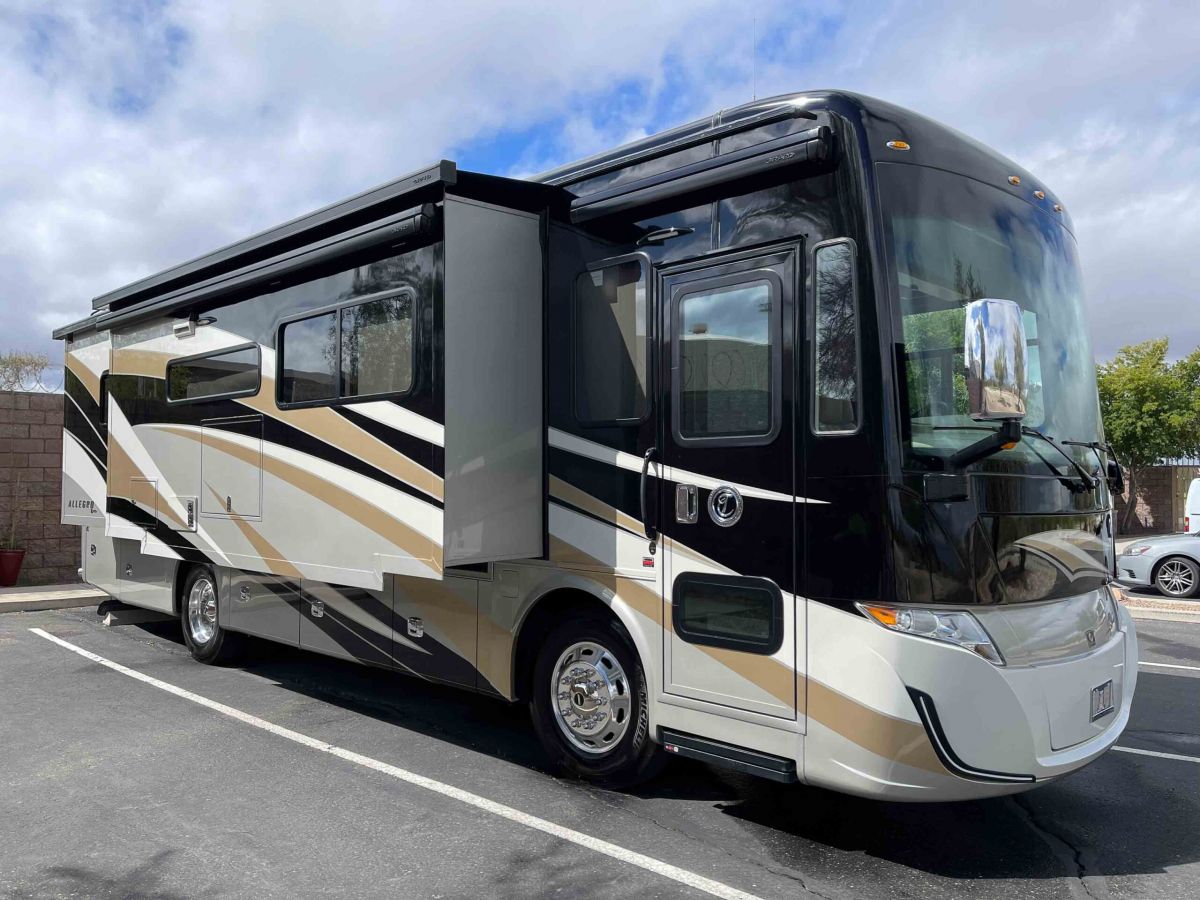
RV’s
Boats
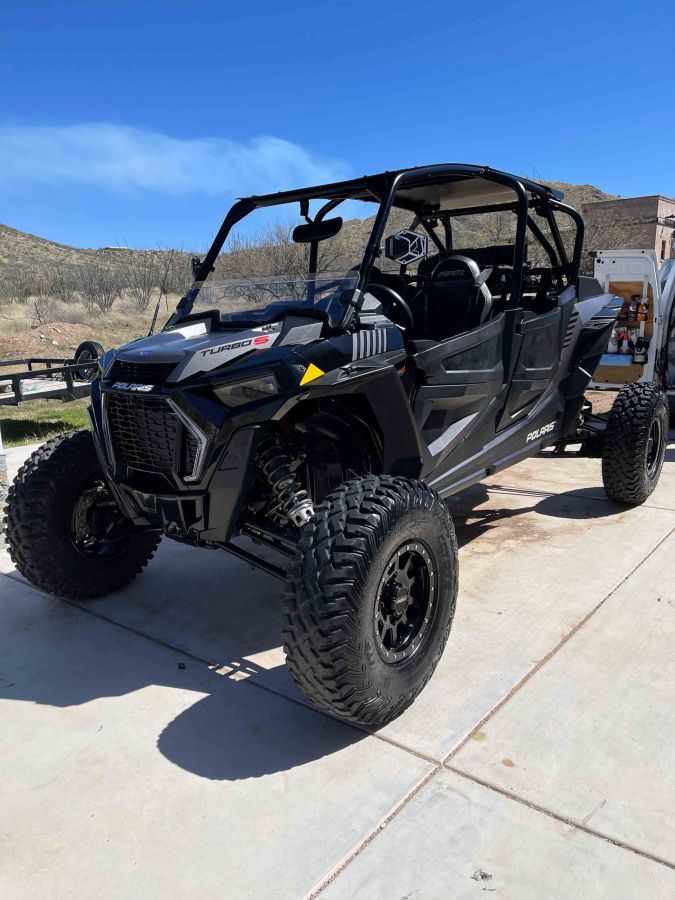
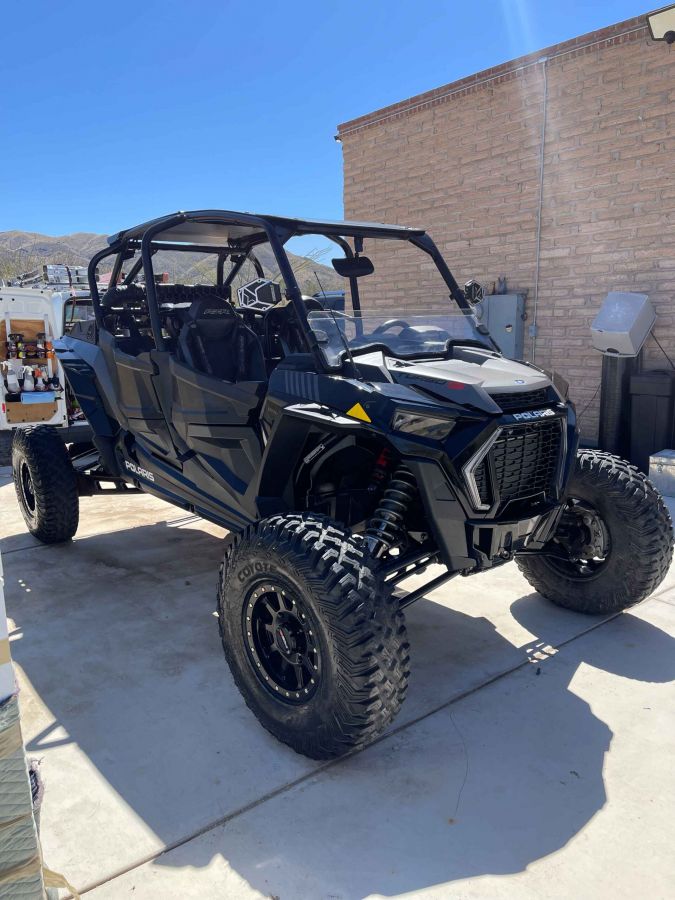
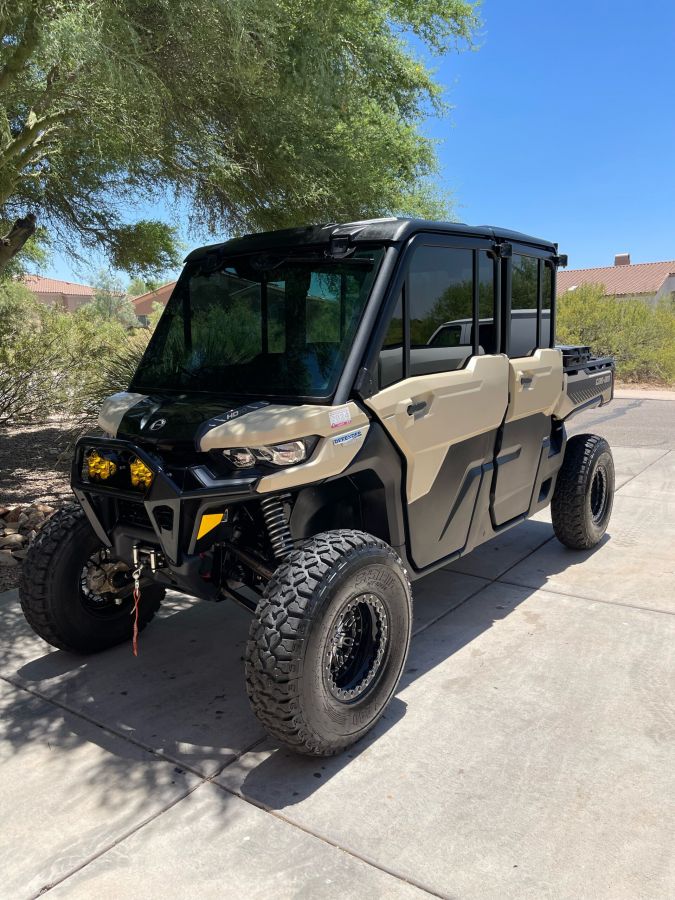
Powersports
Fleet Vehicles
Gallery
Contact
About Us
Special Offers
Schedule Detail
520-310-9959
Home
Services
Vehicles
RV’s
Boats
Powersports
Fleet Vehicles
Gallery
Contact
About Us
Special Offers
Schedule Now
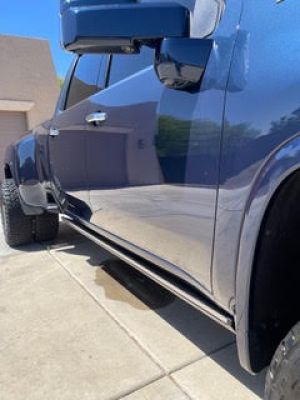
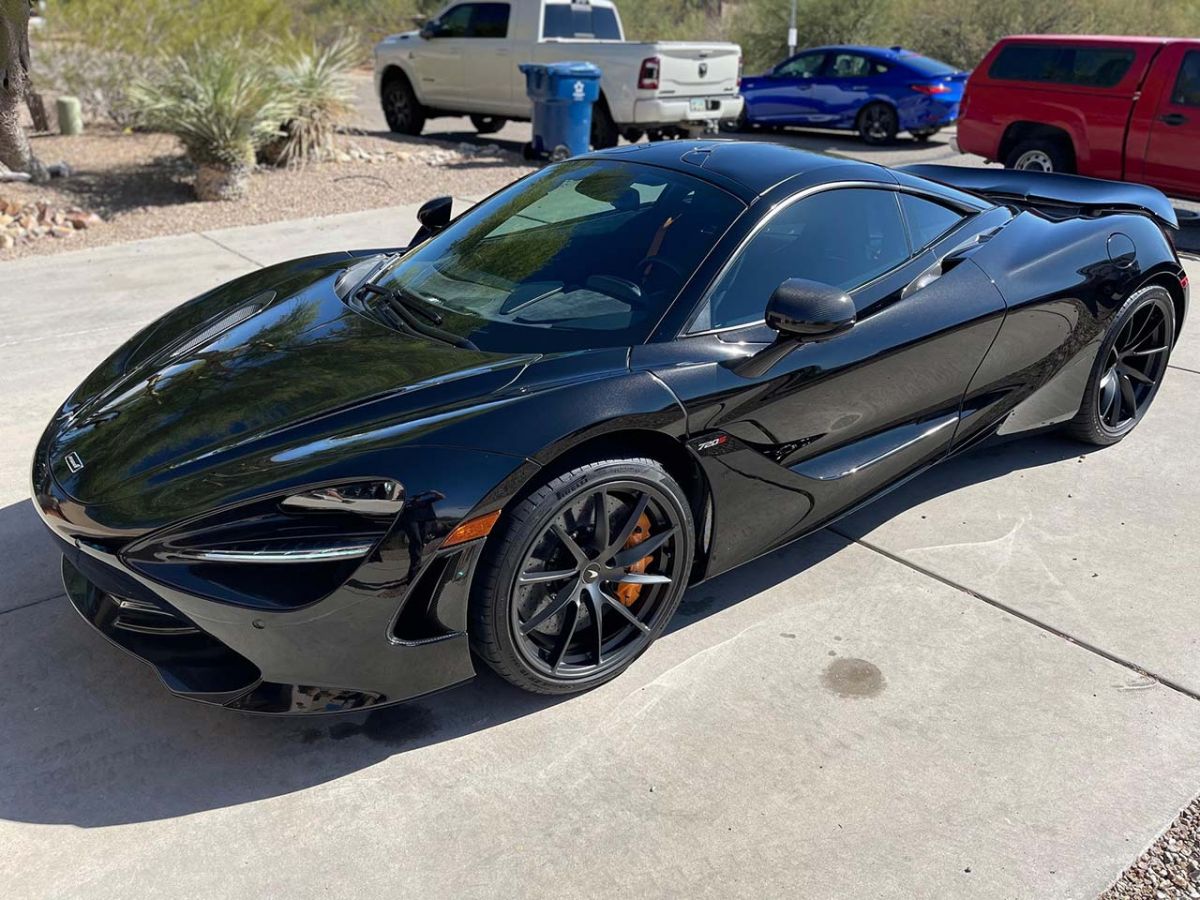
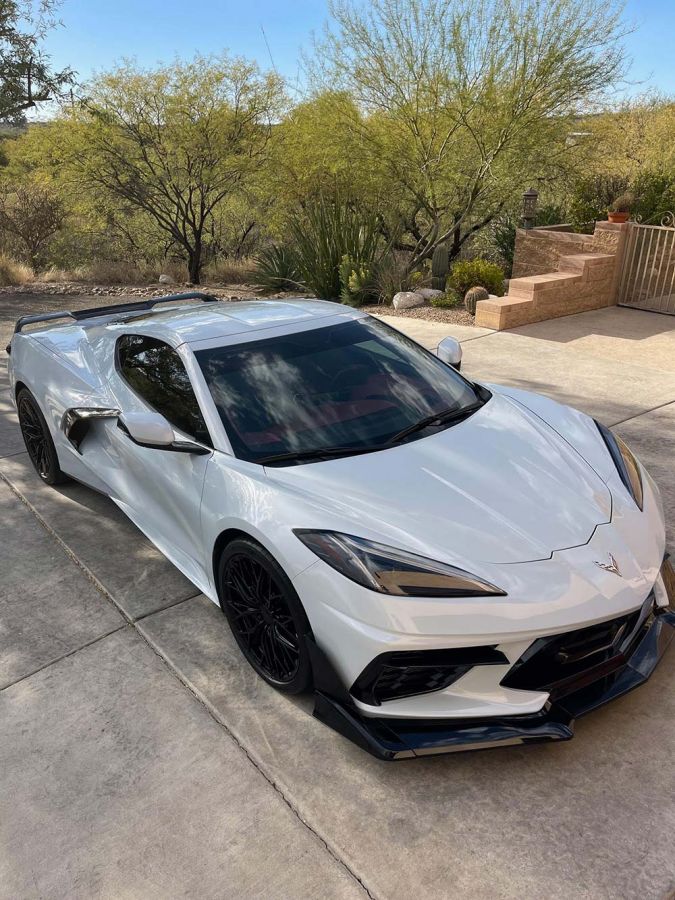
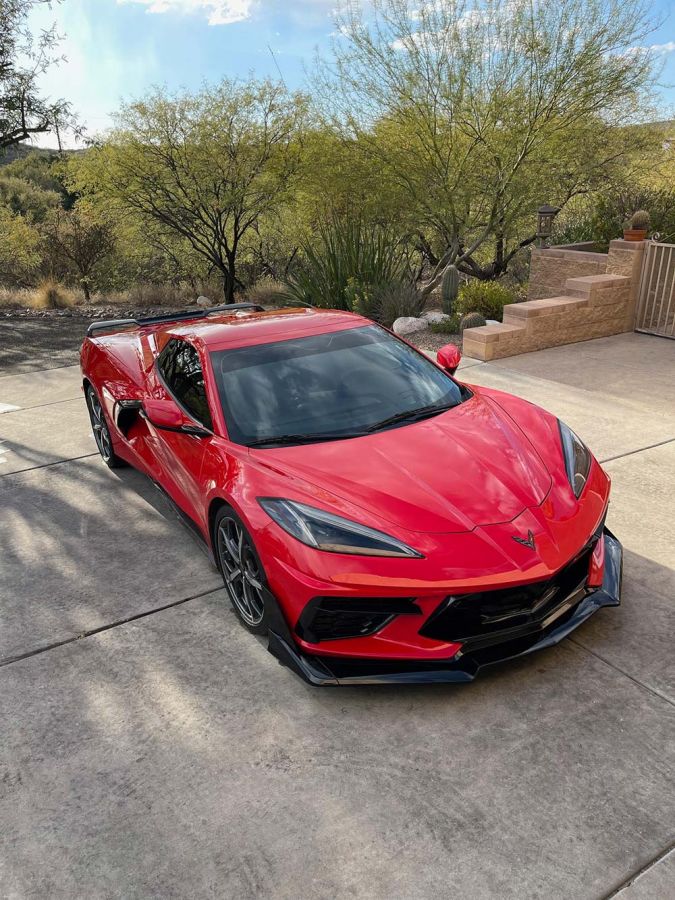
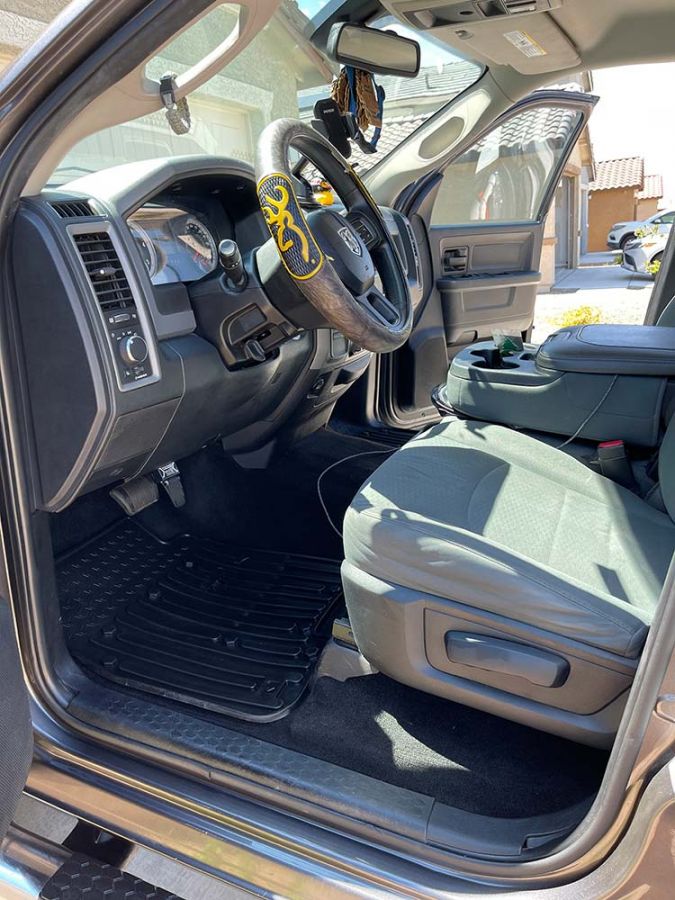
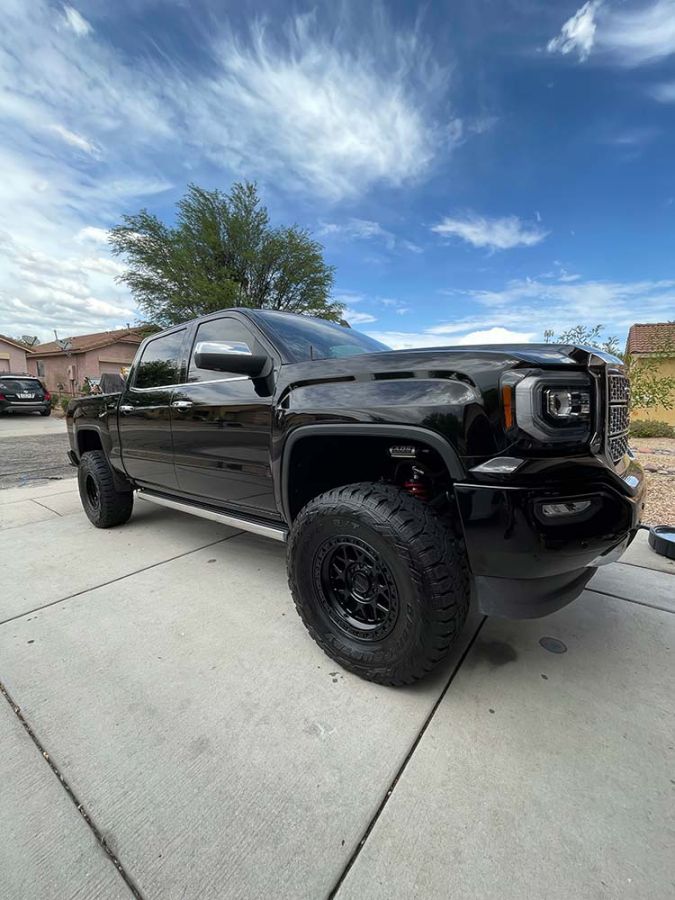
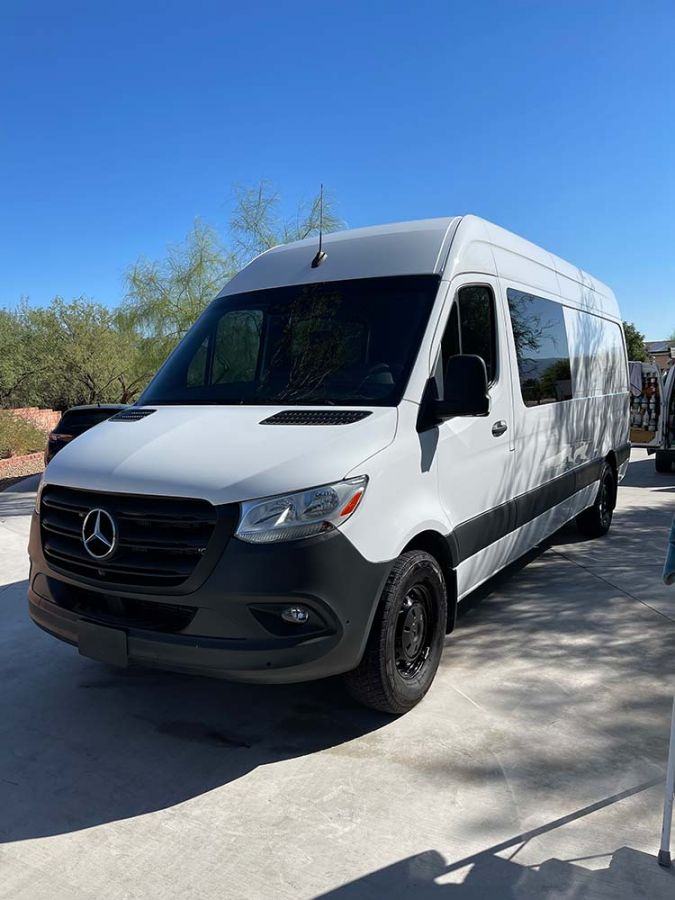
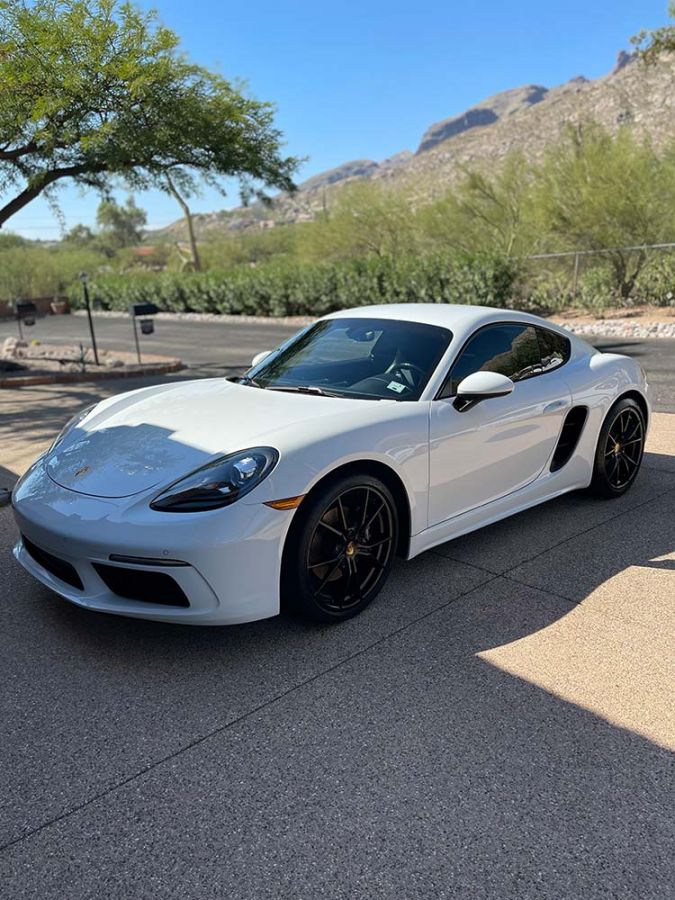
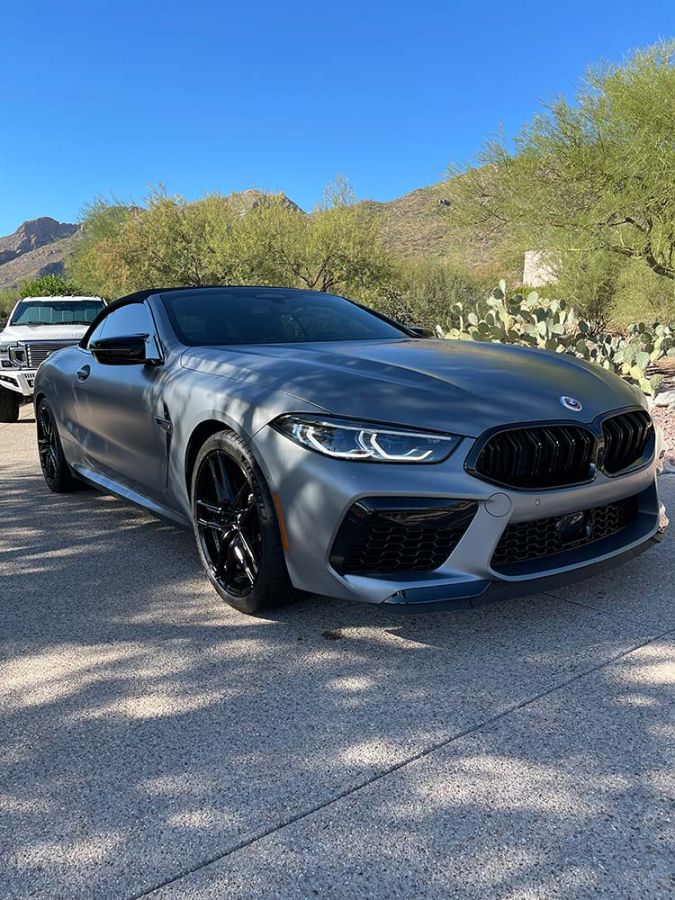
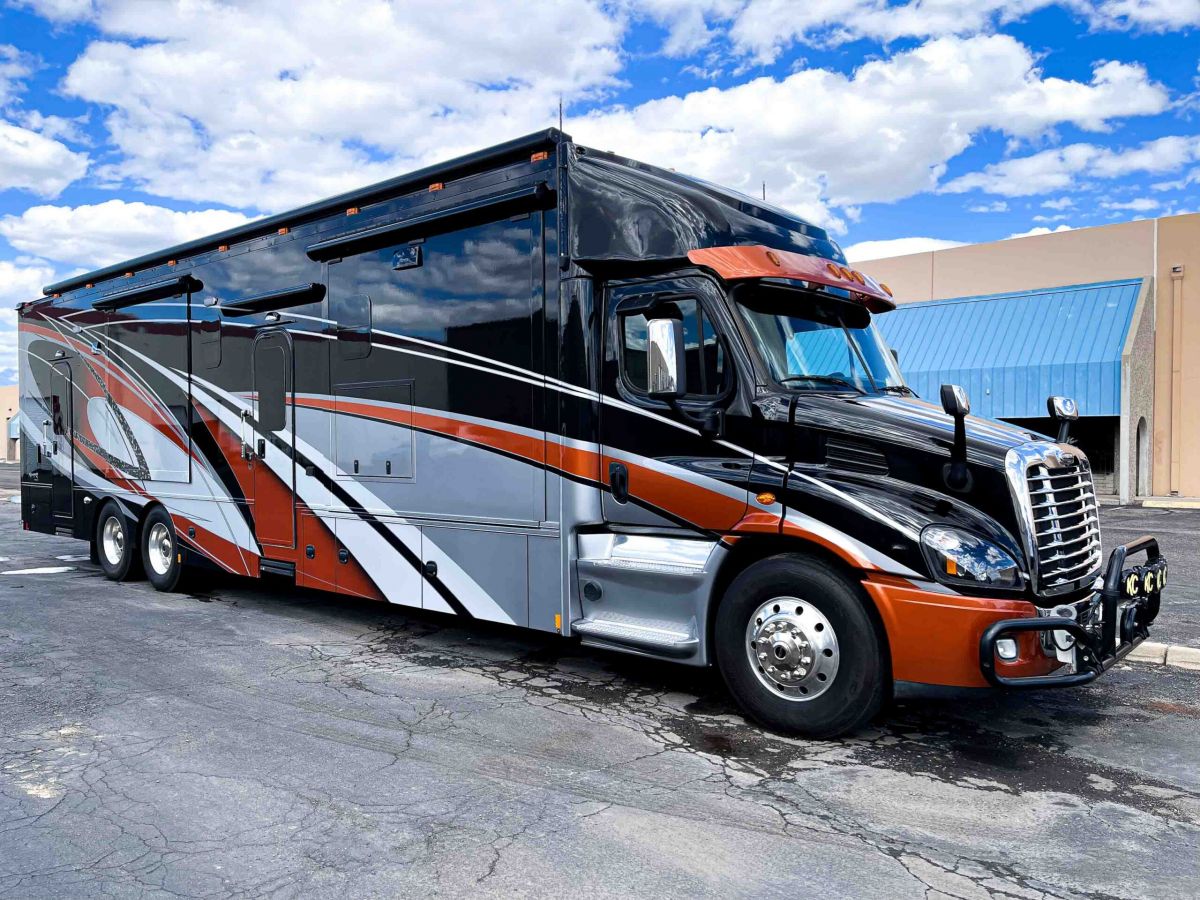
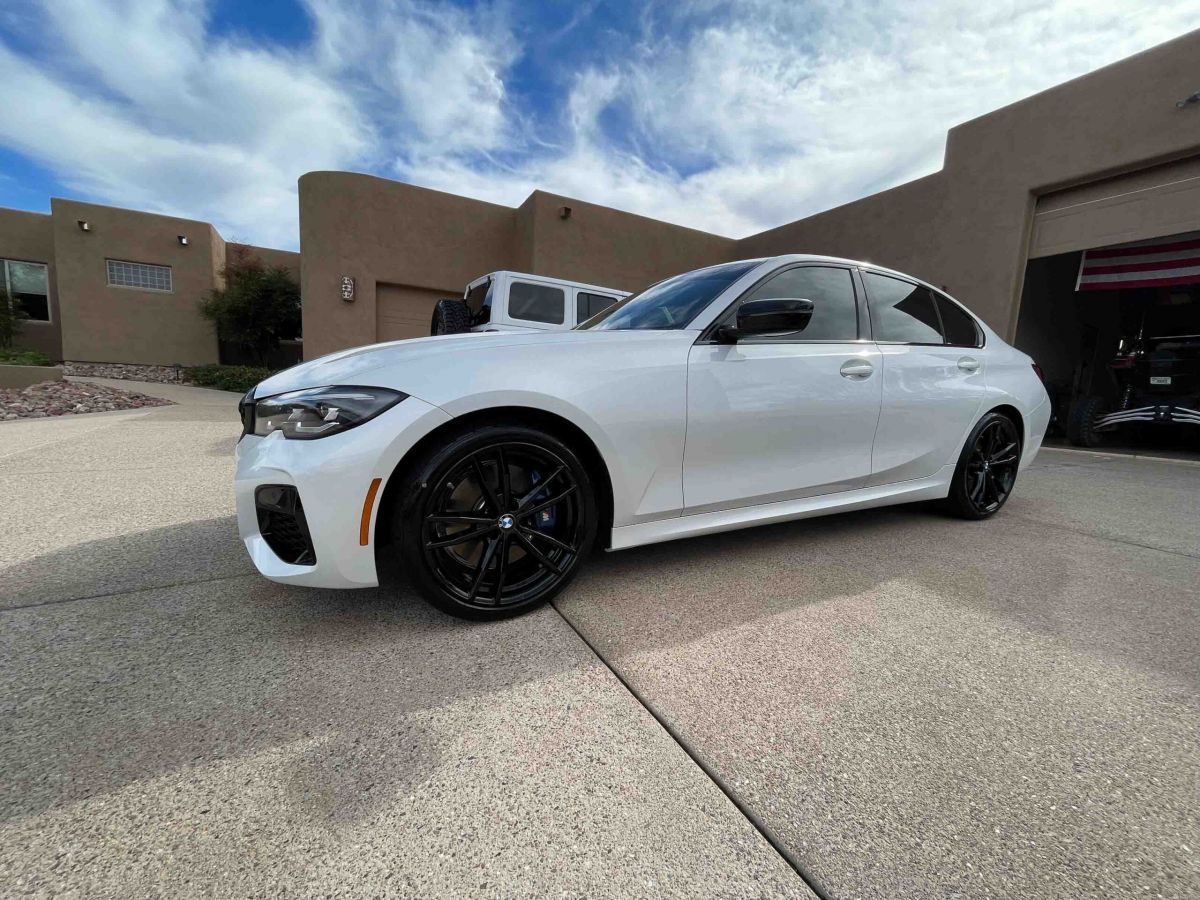
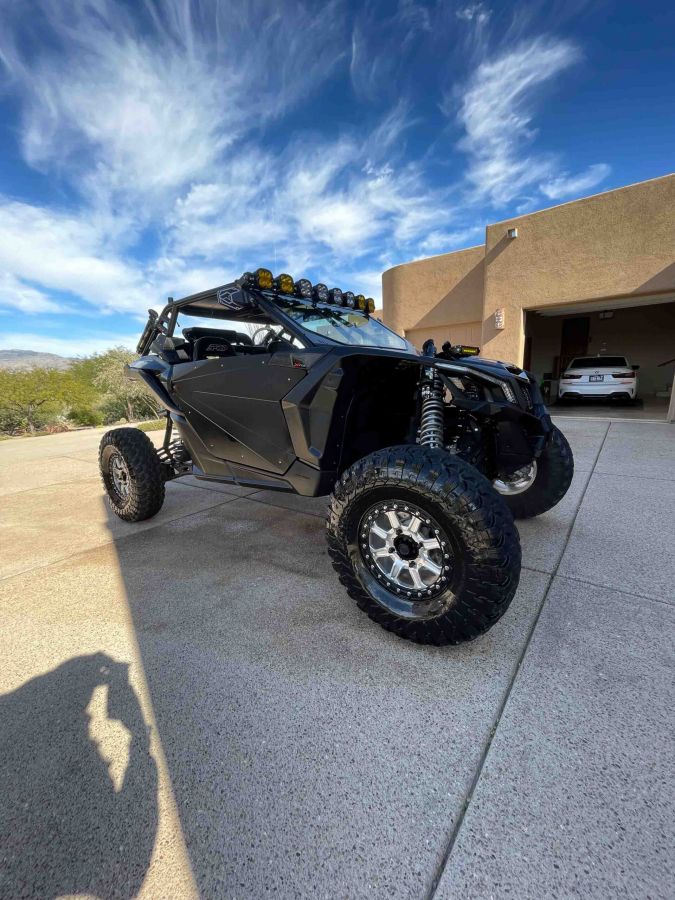
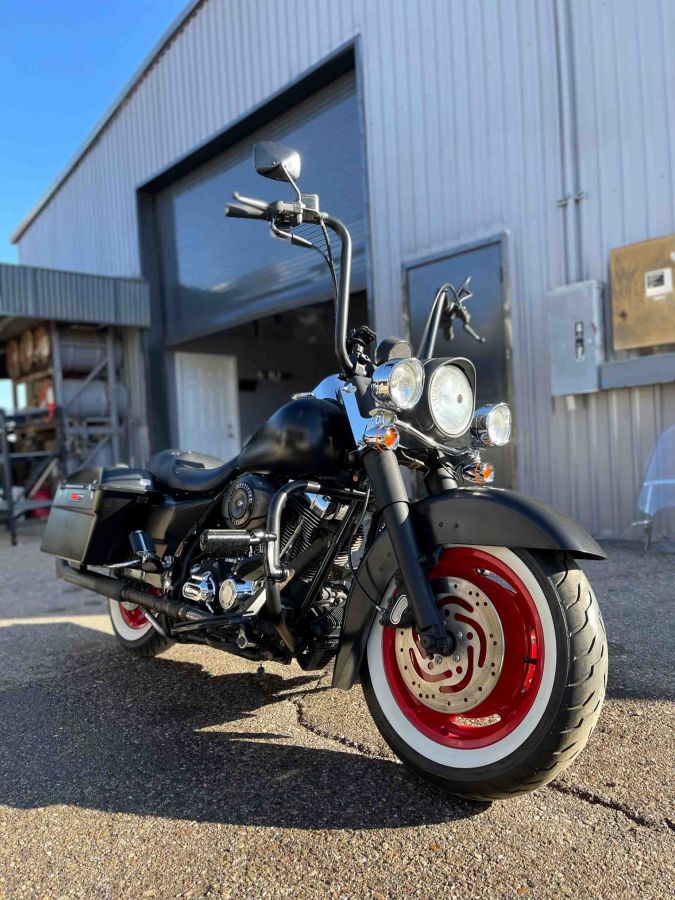
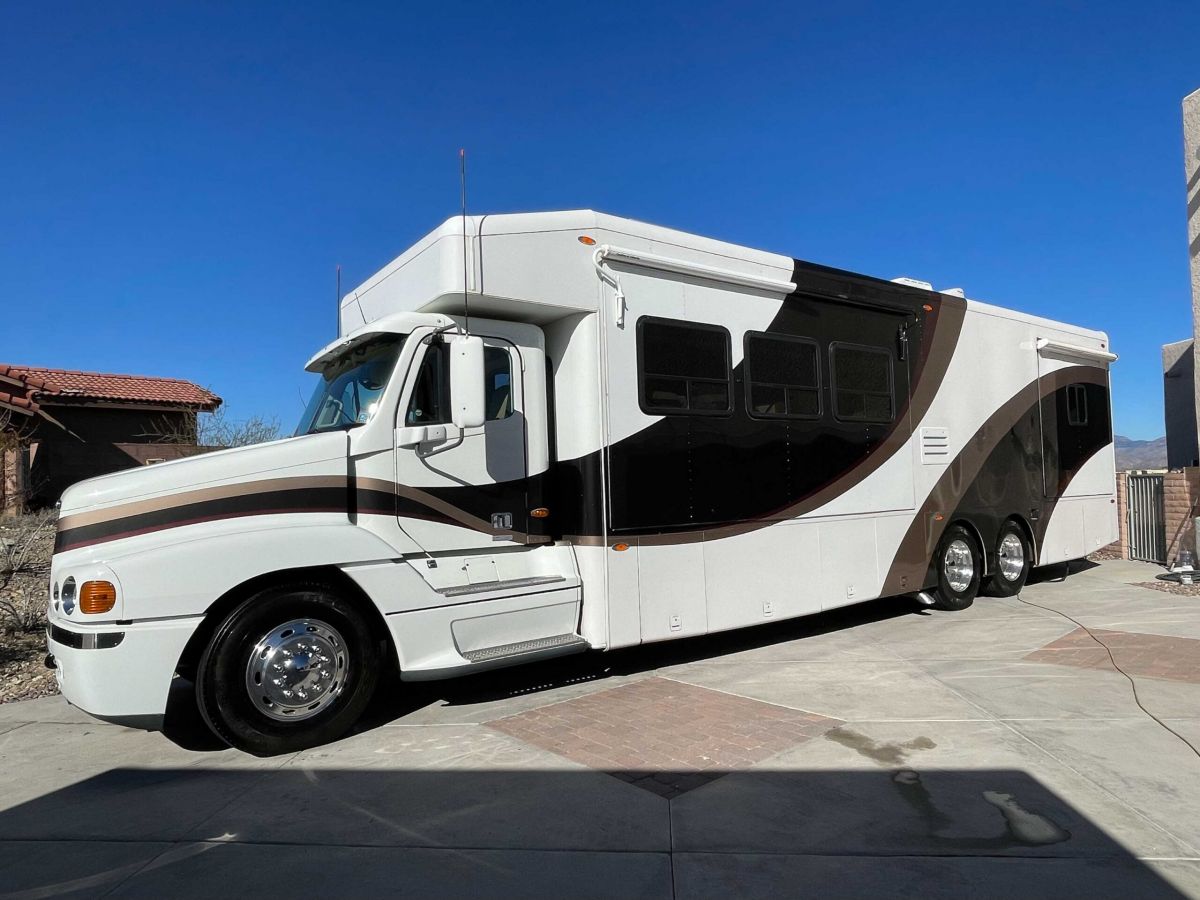
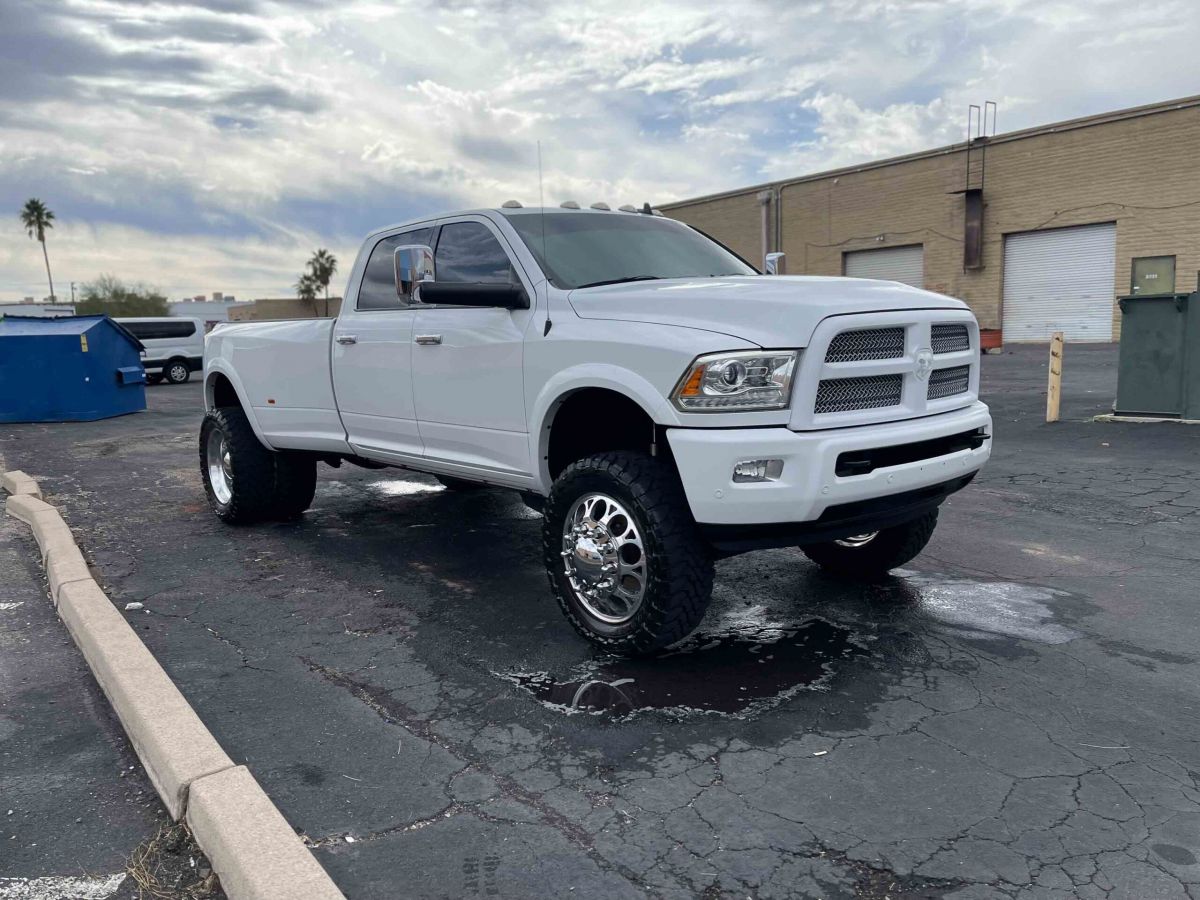
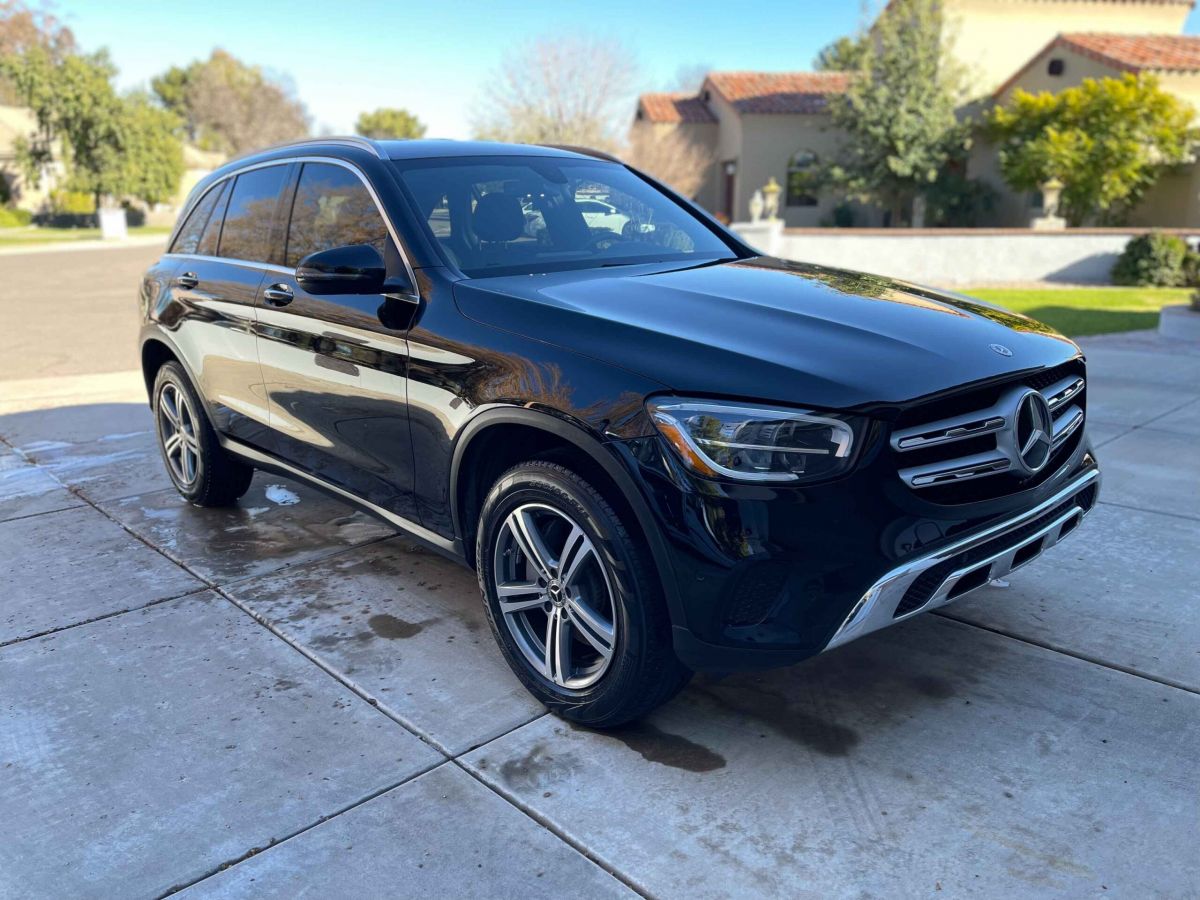
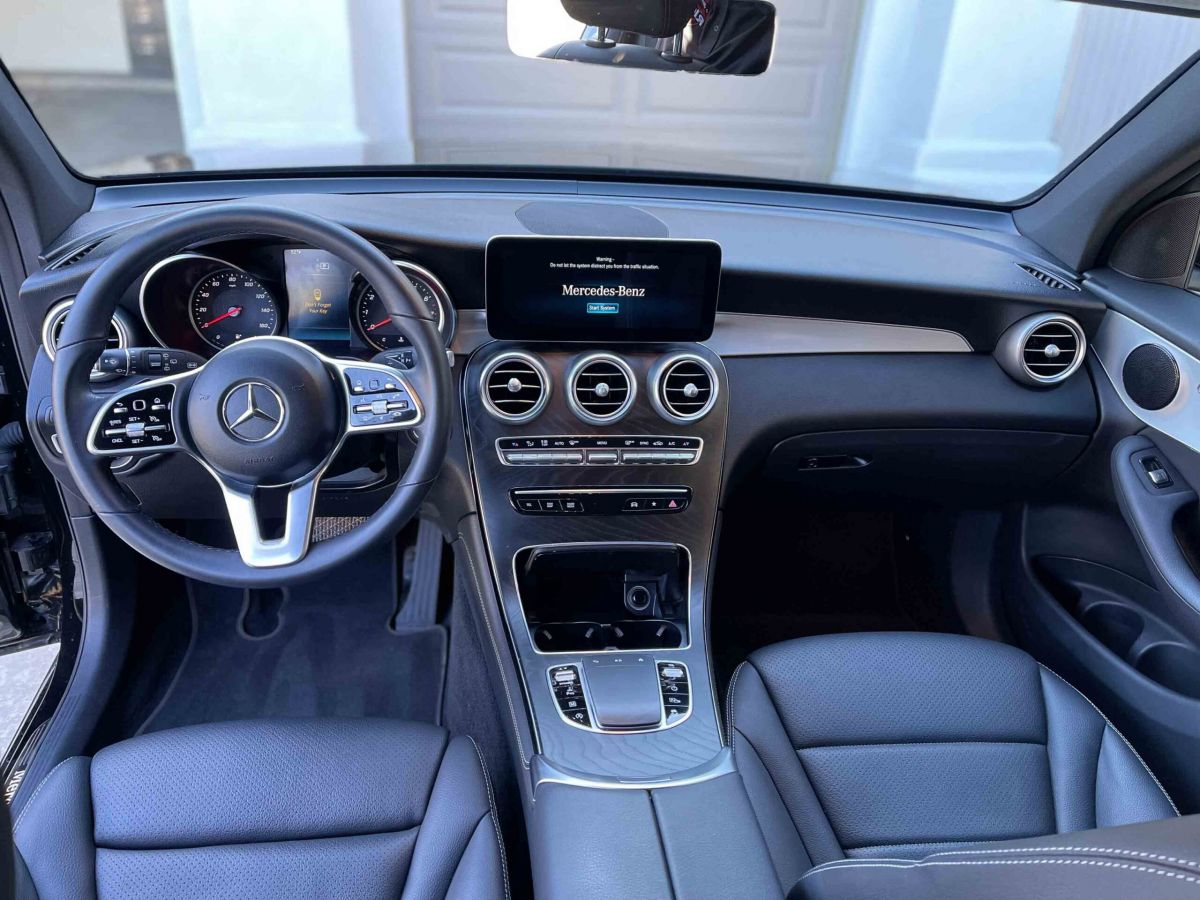
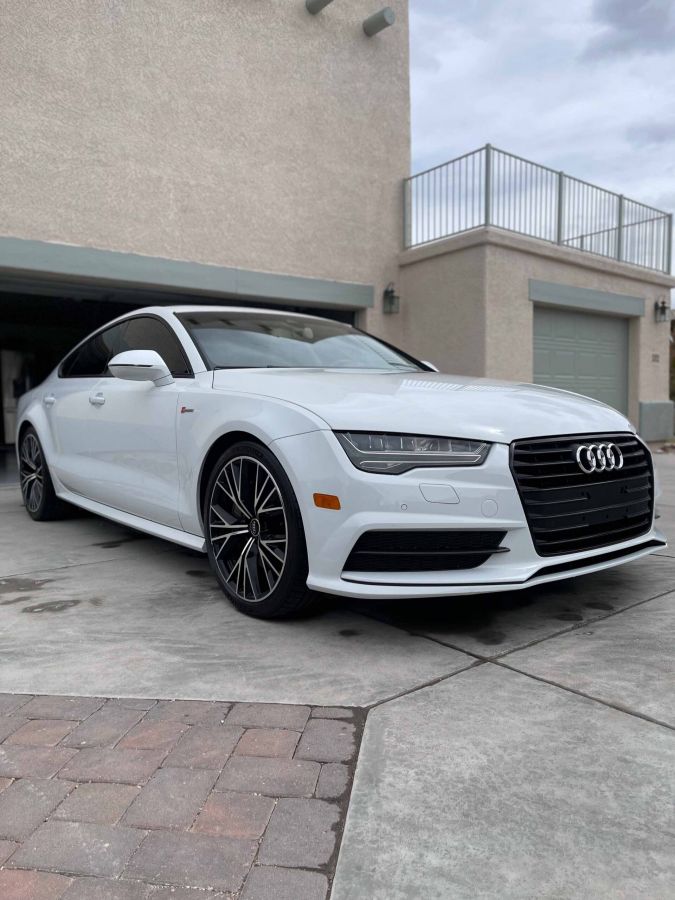
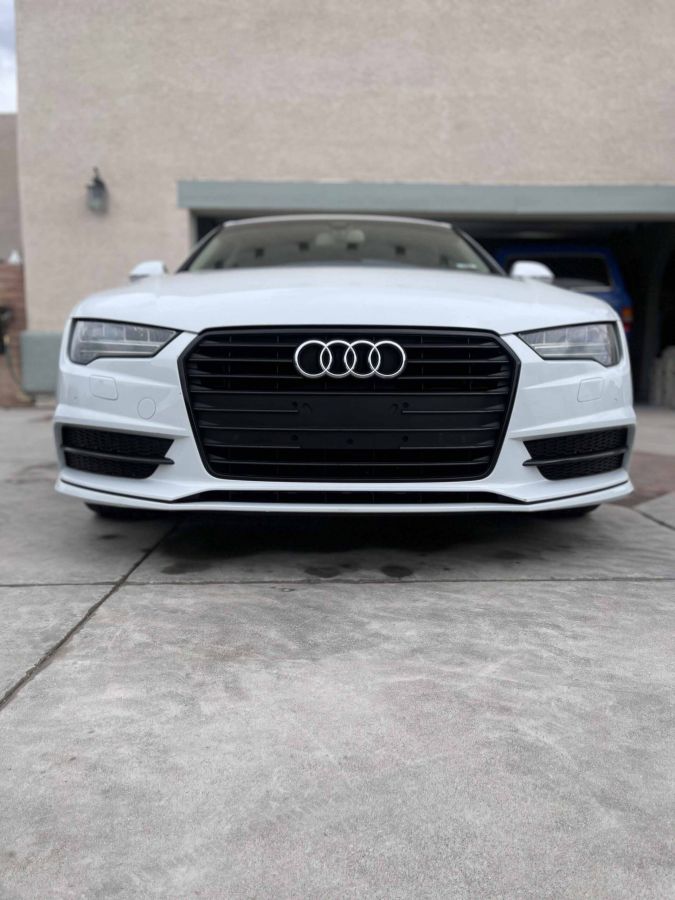
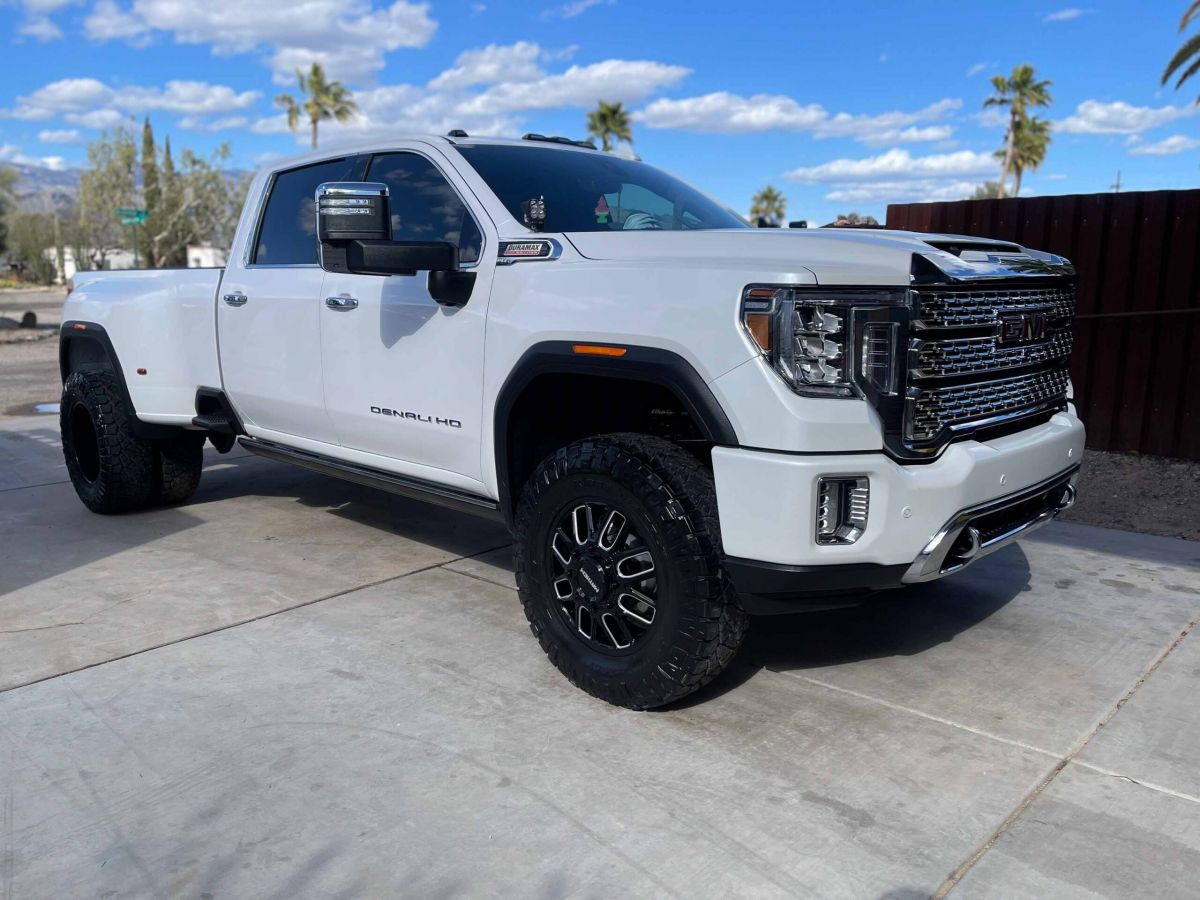
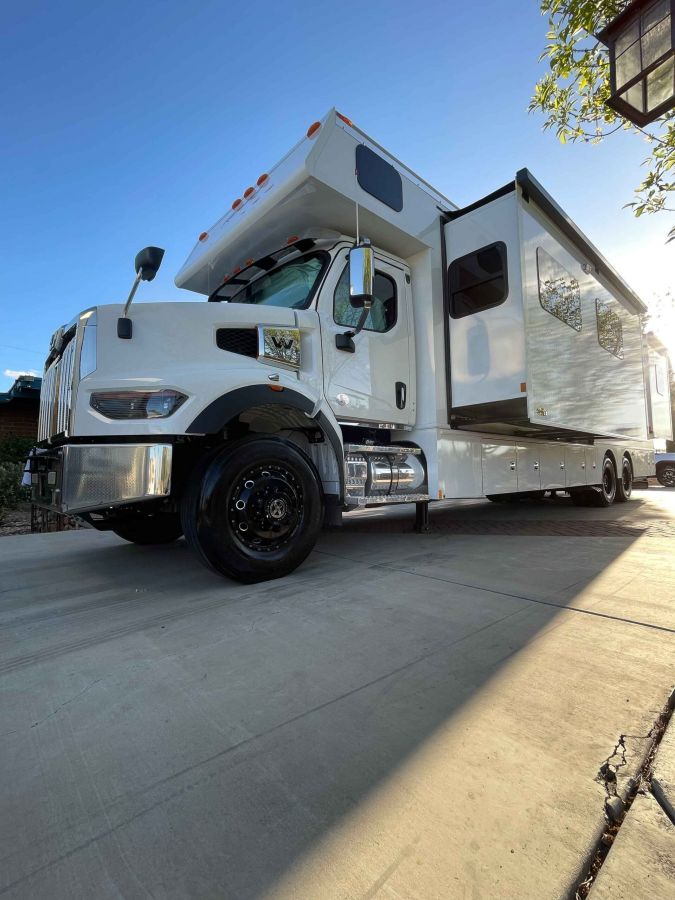
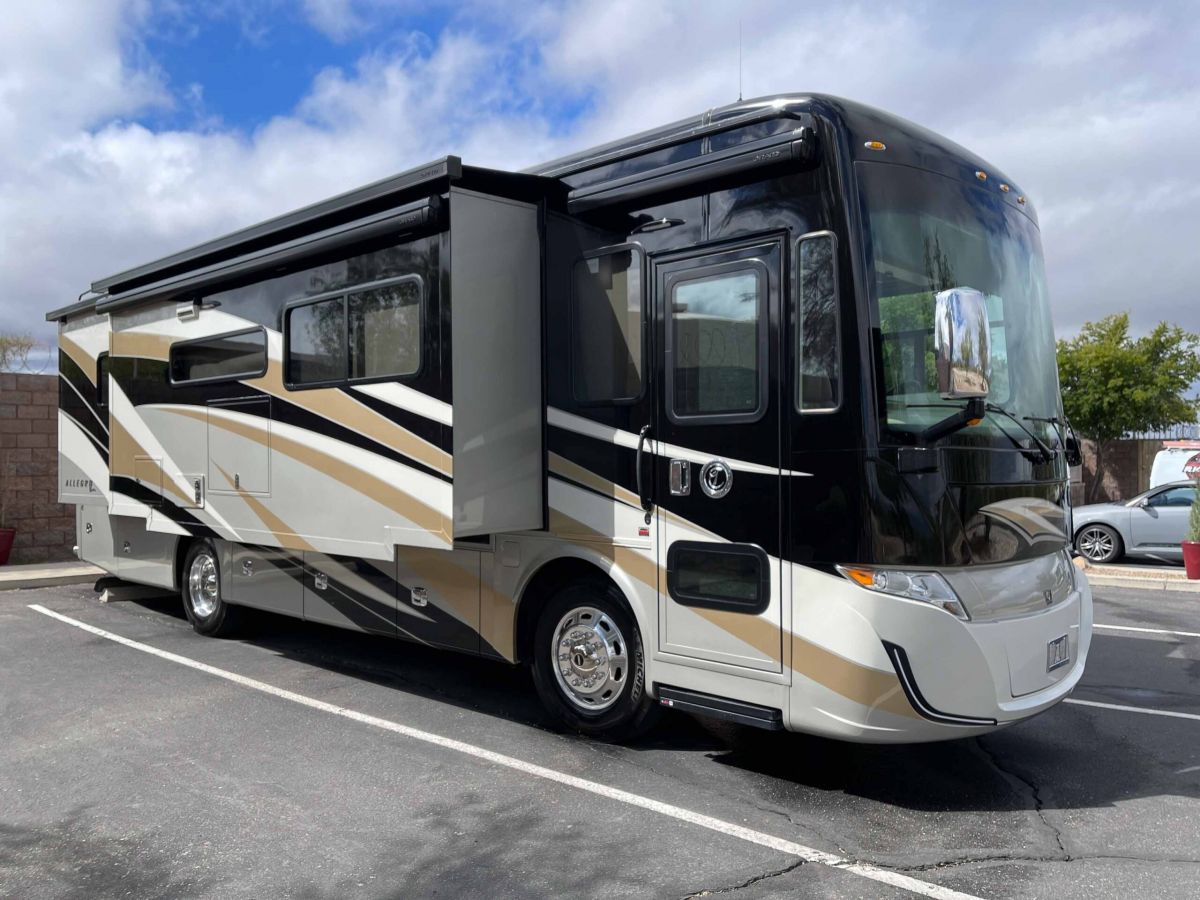
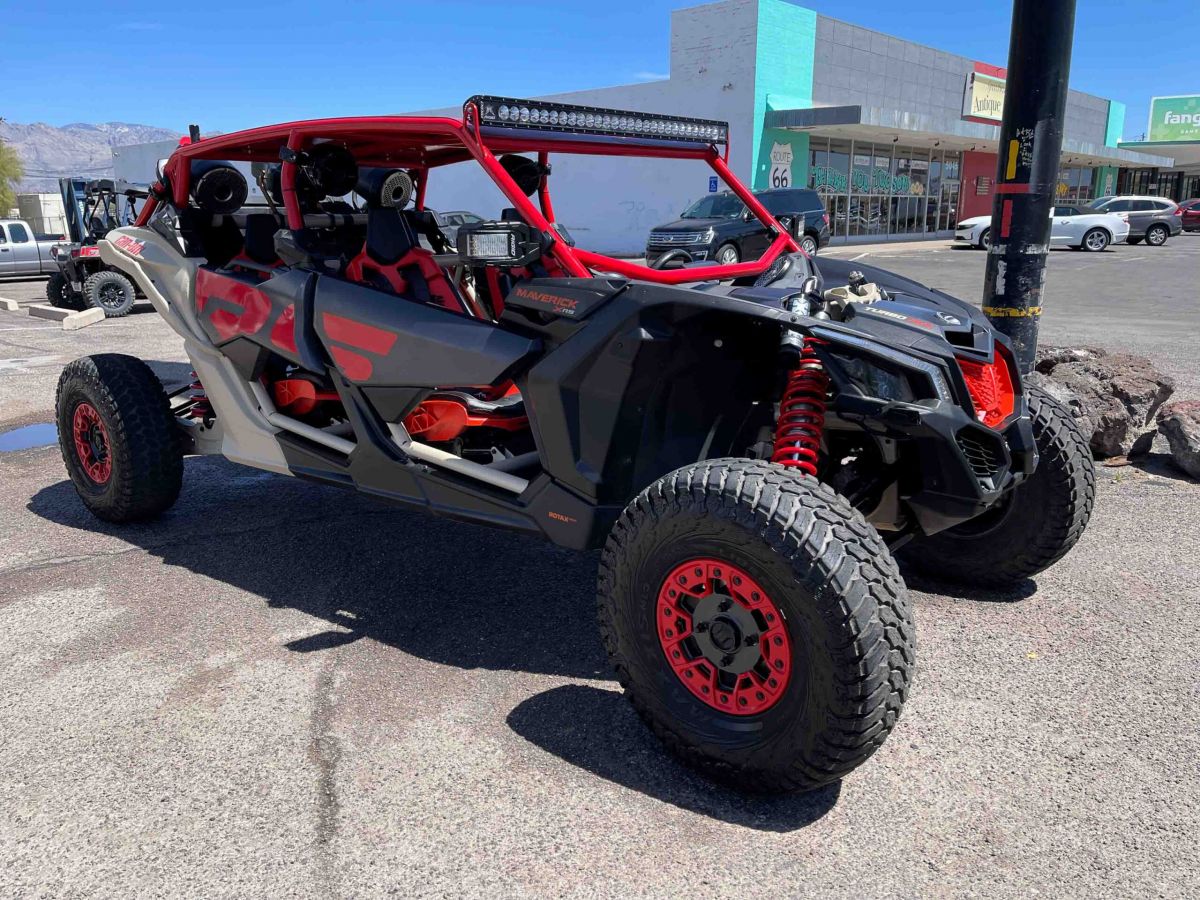
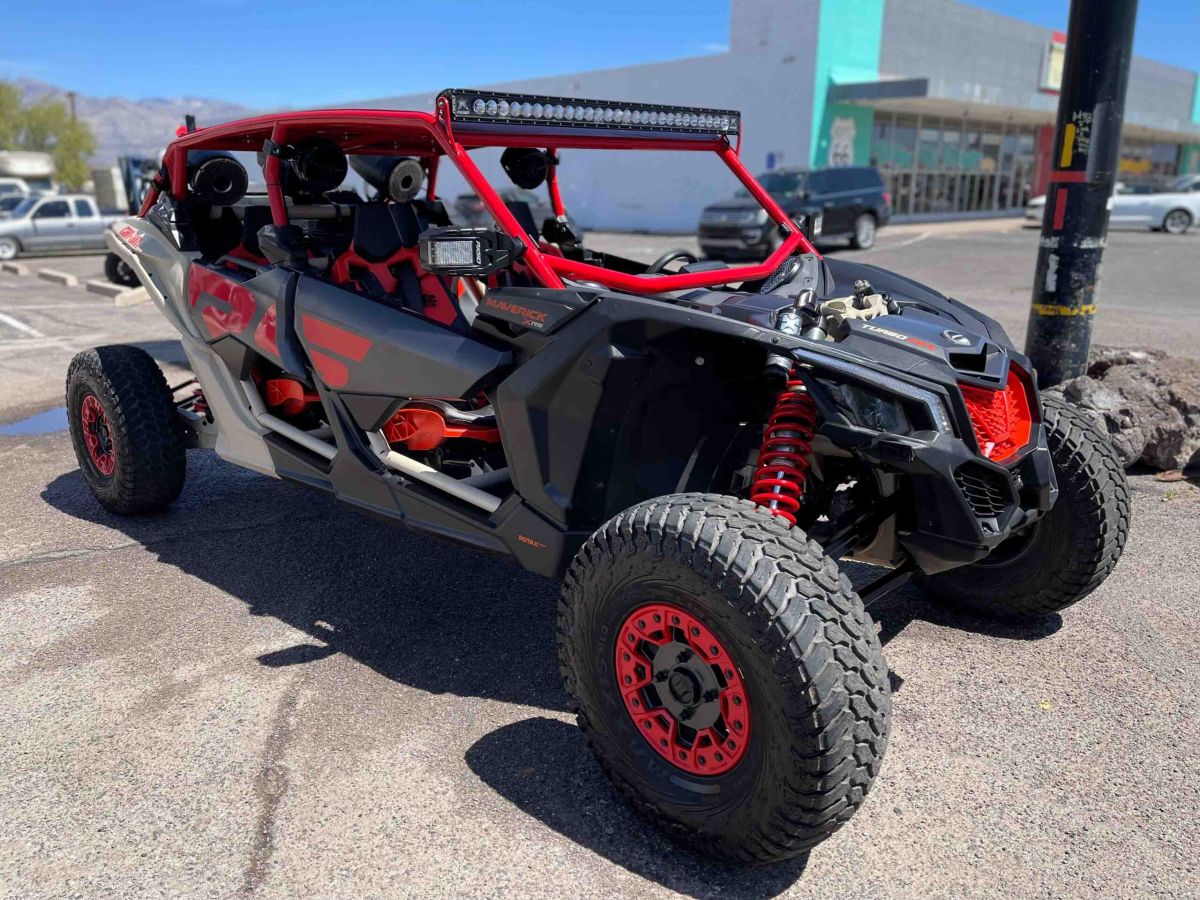
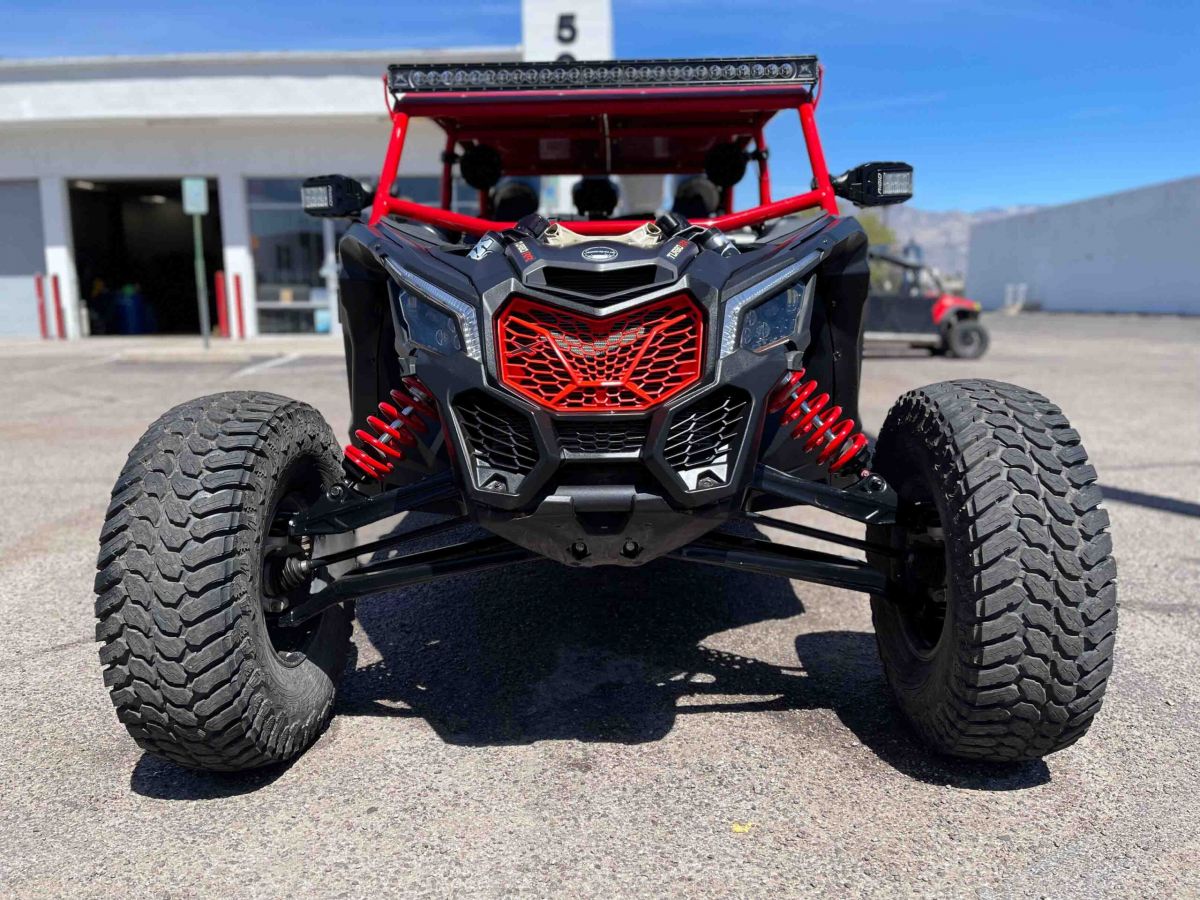
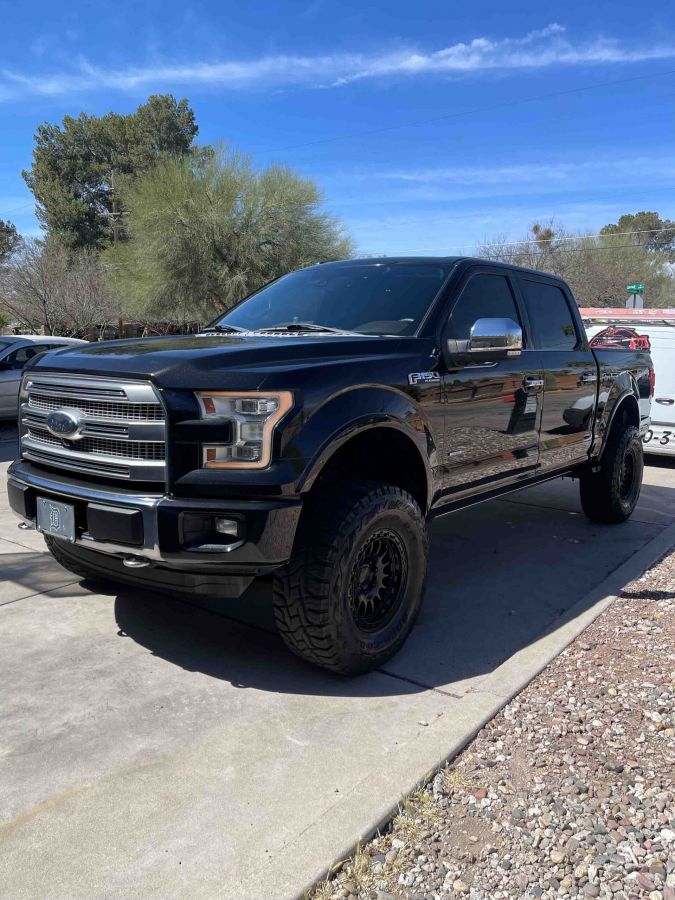
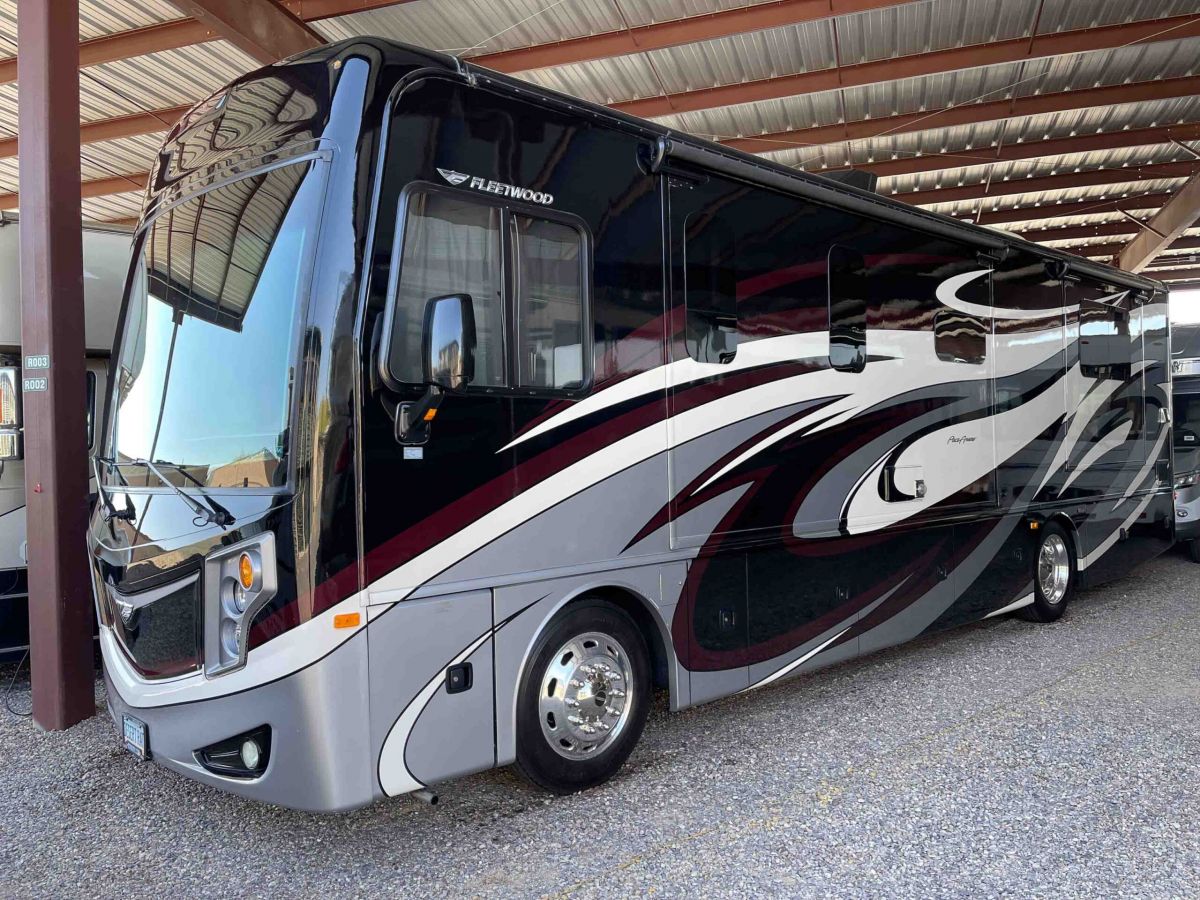
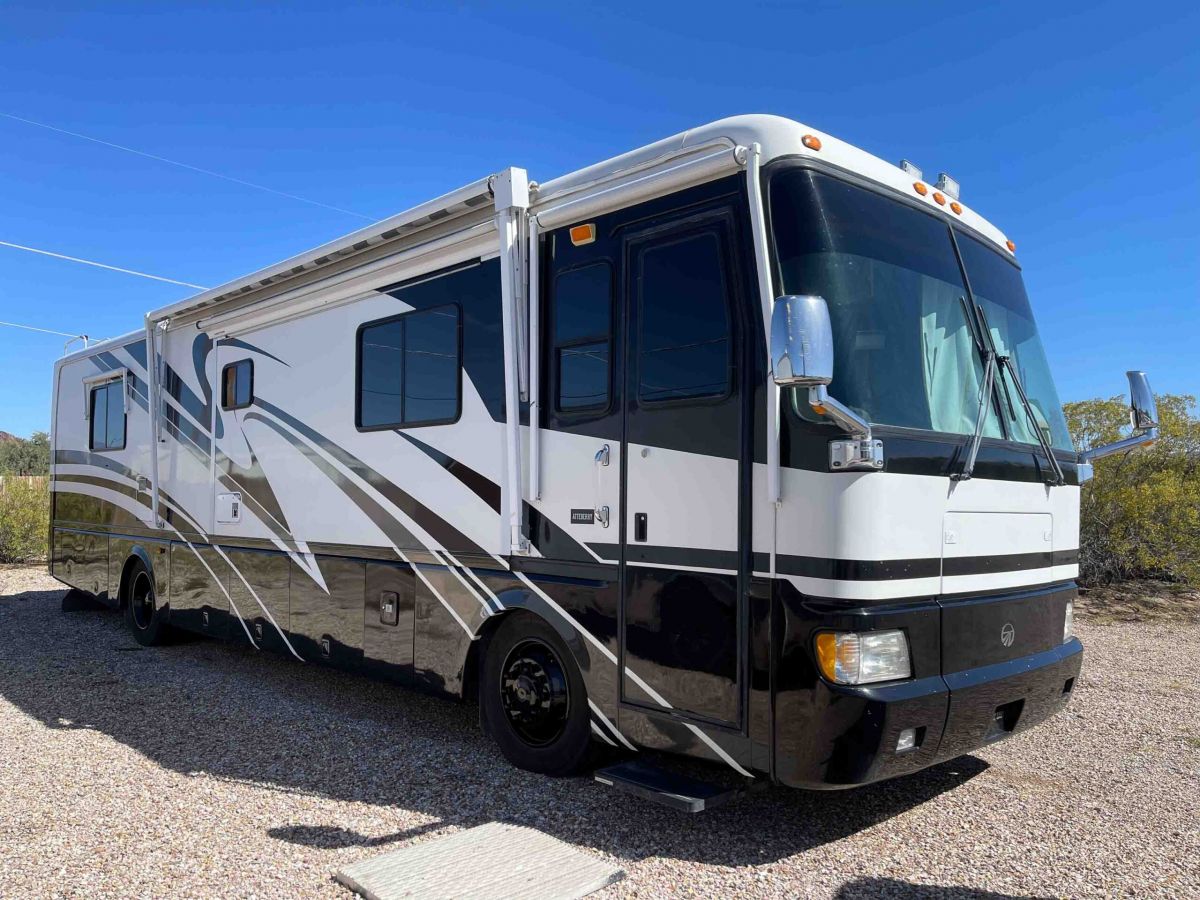
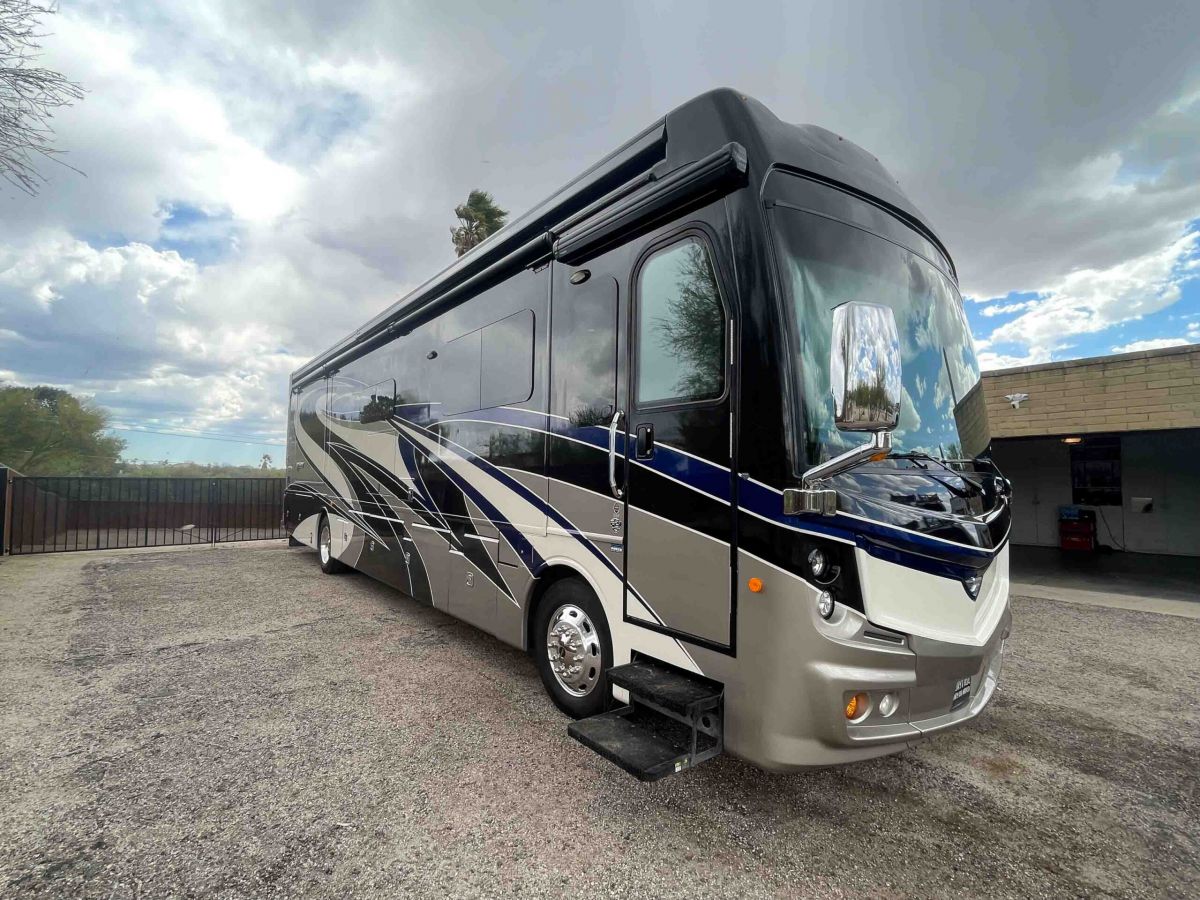
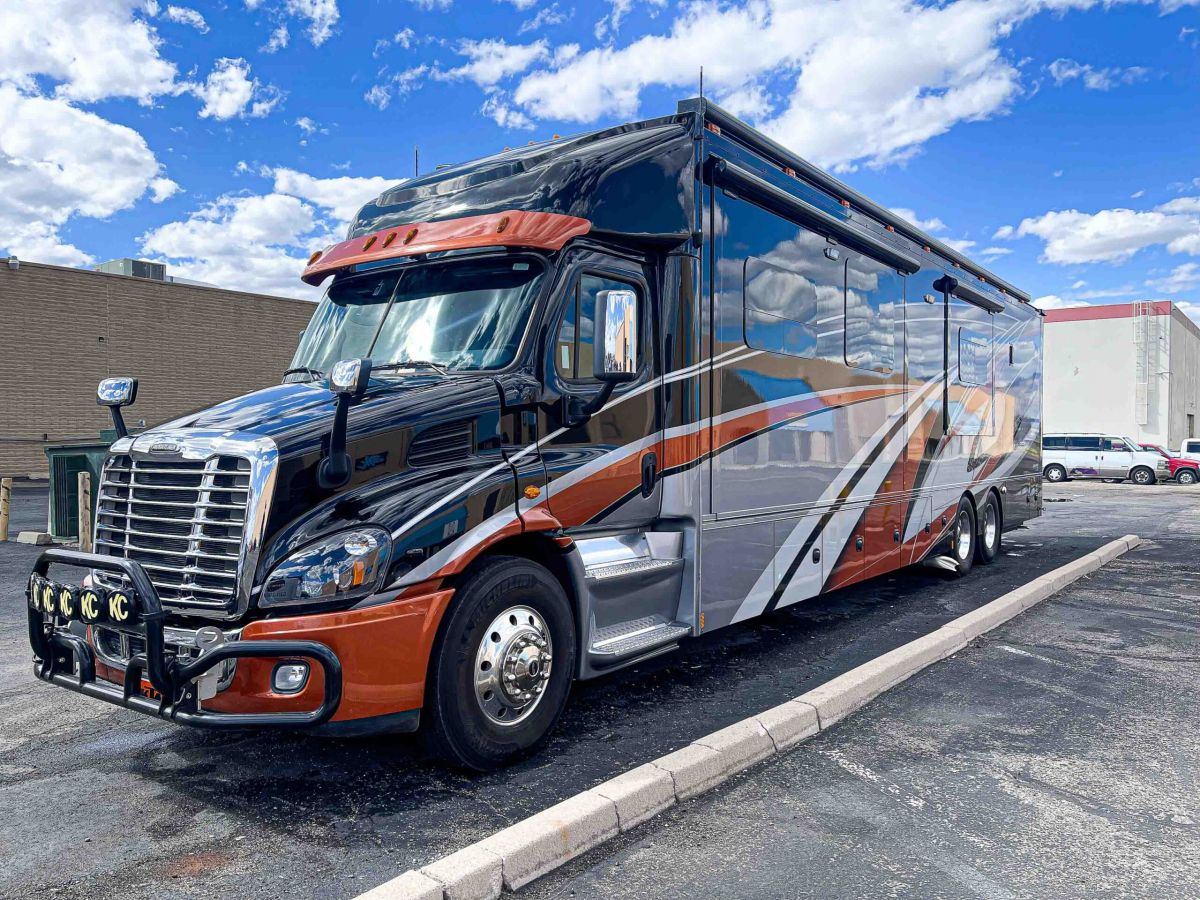
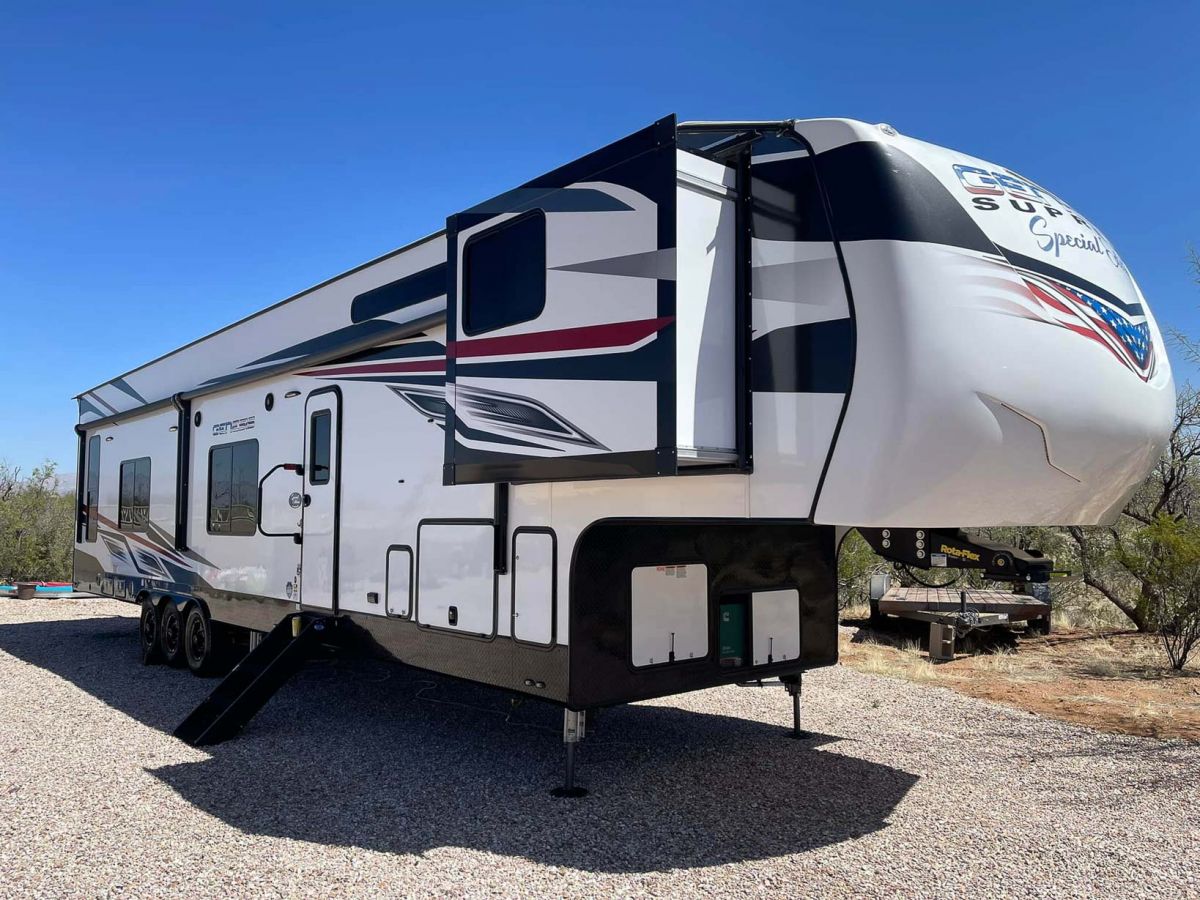
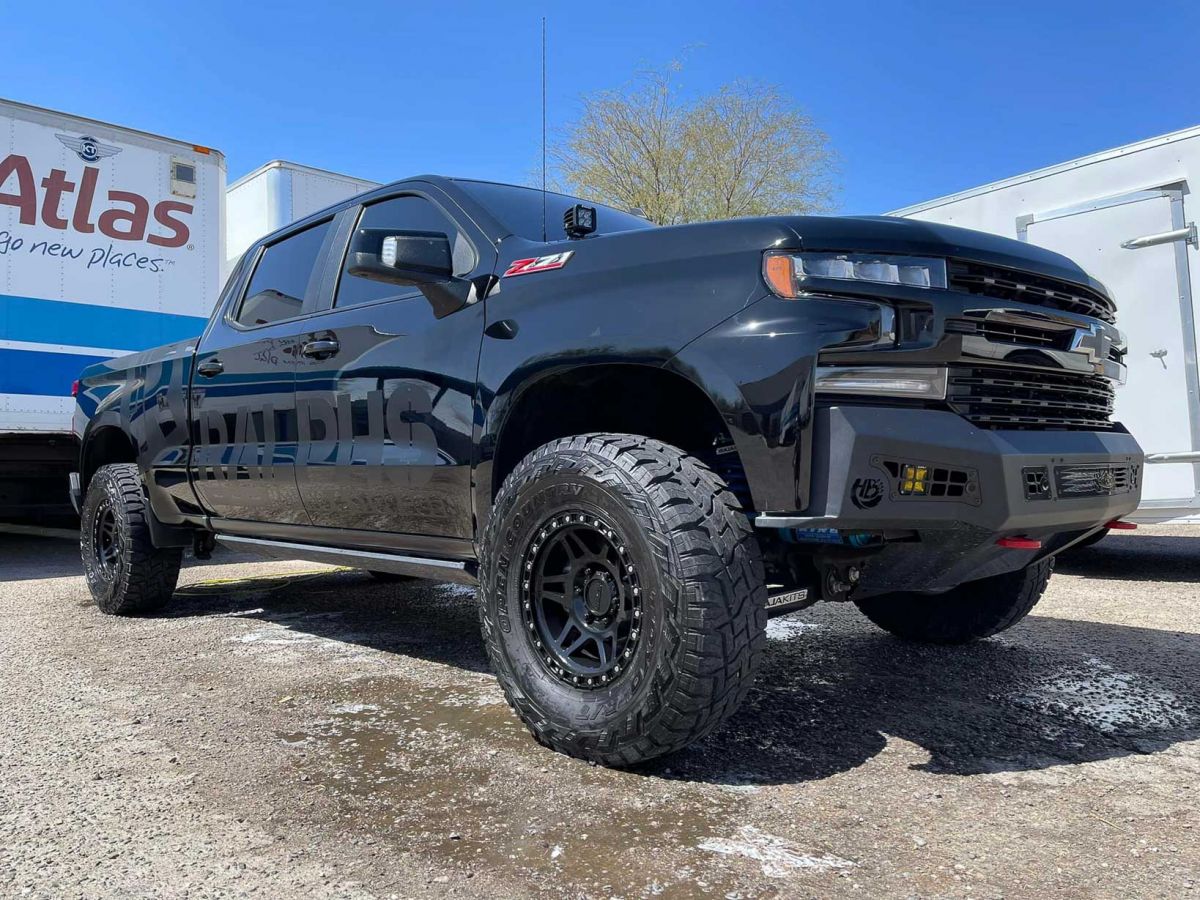
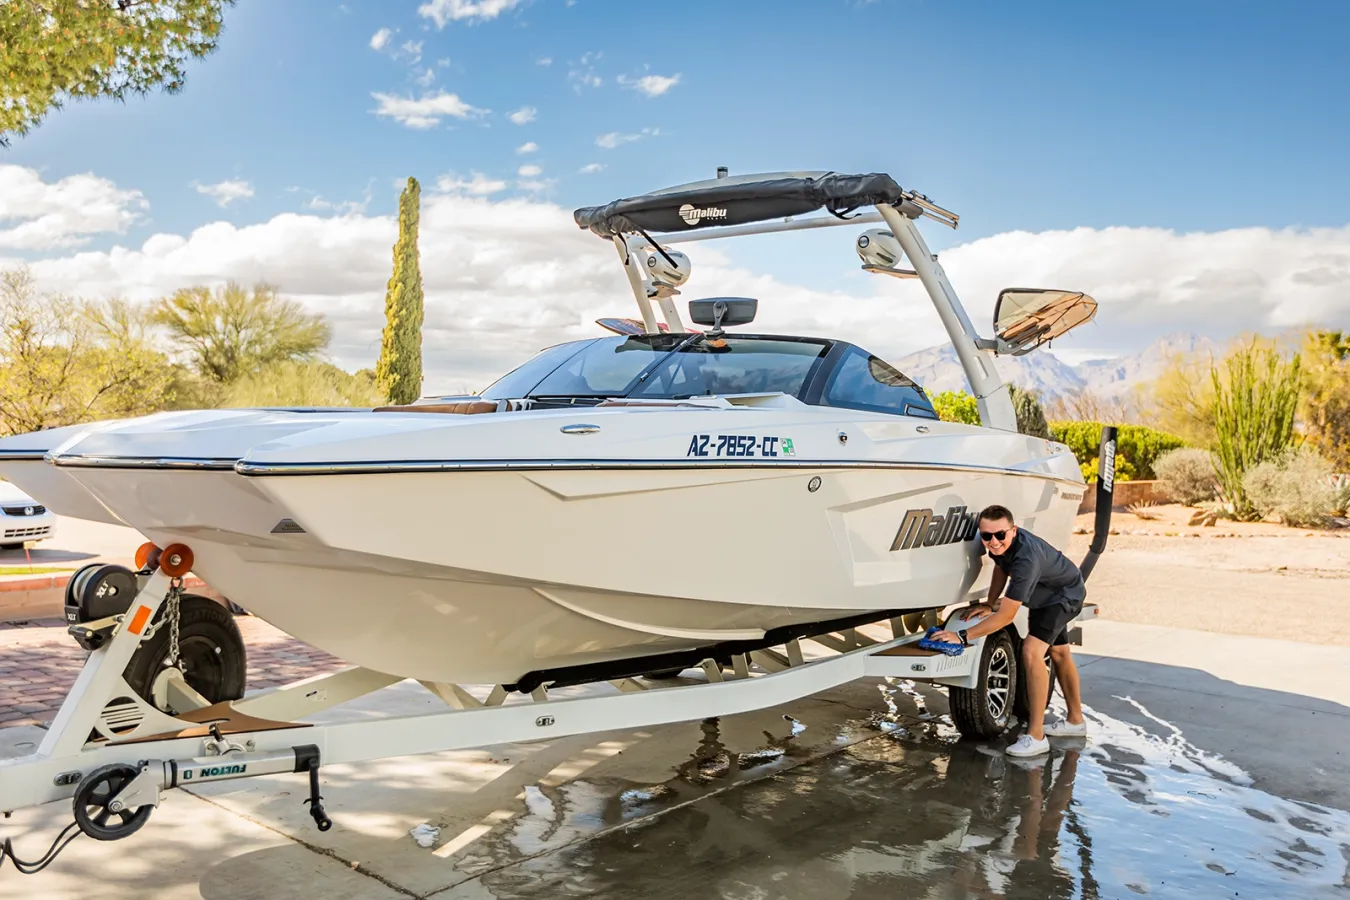
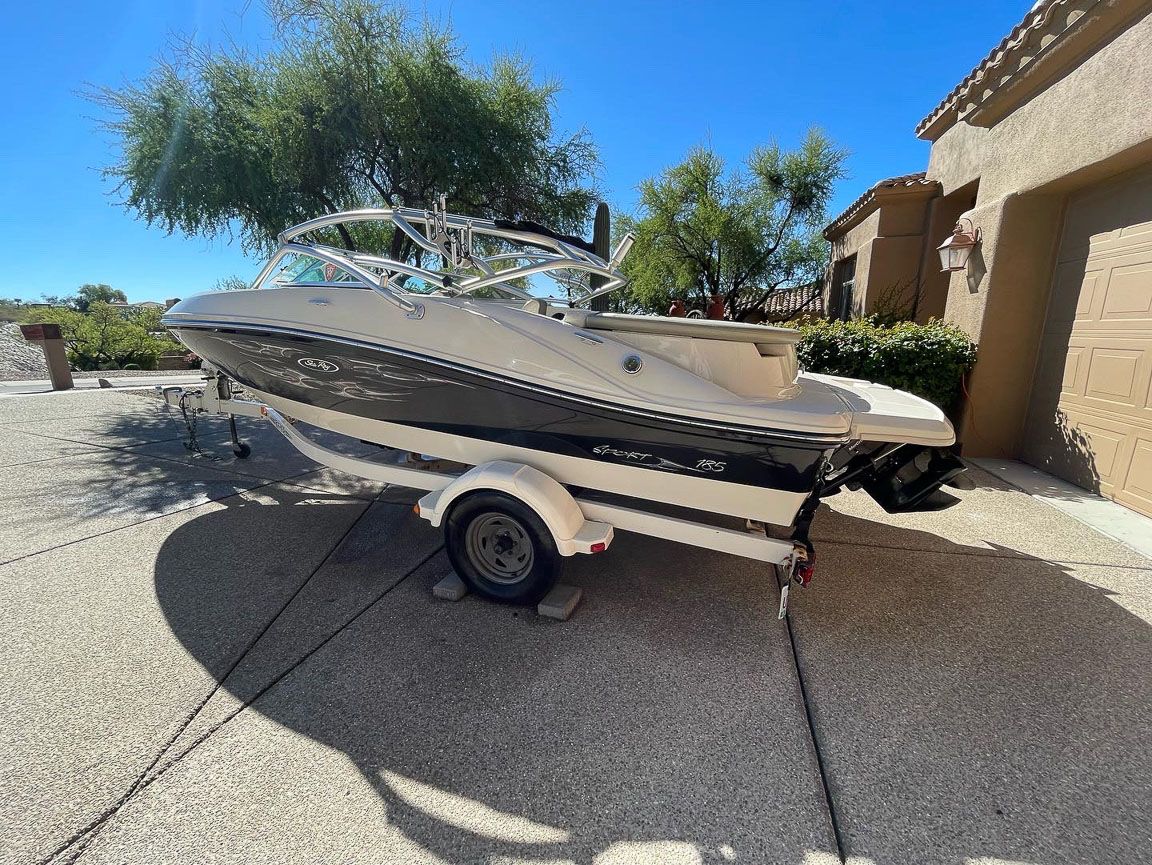
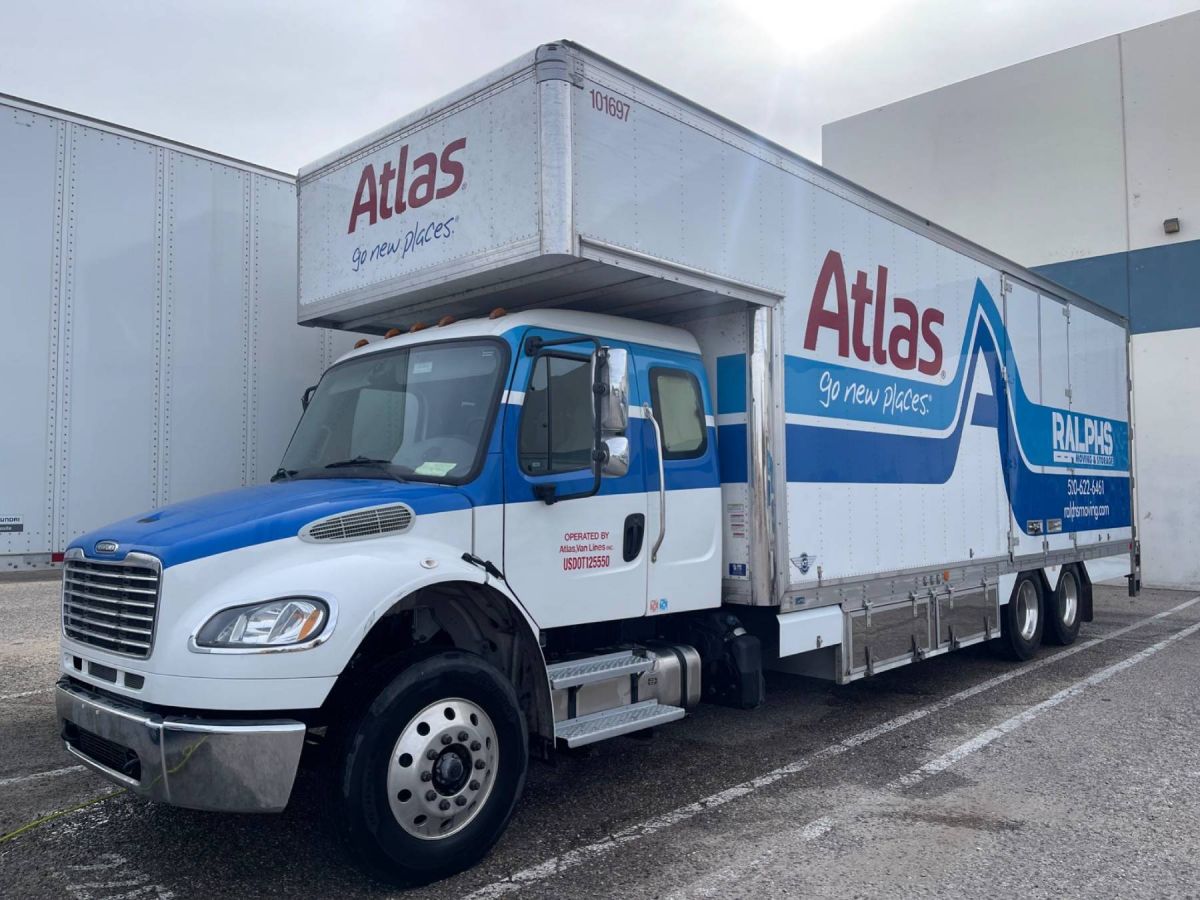
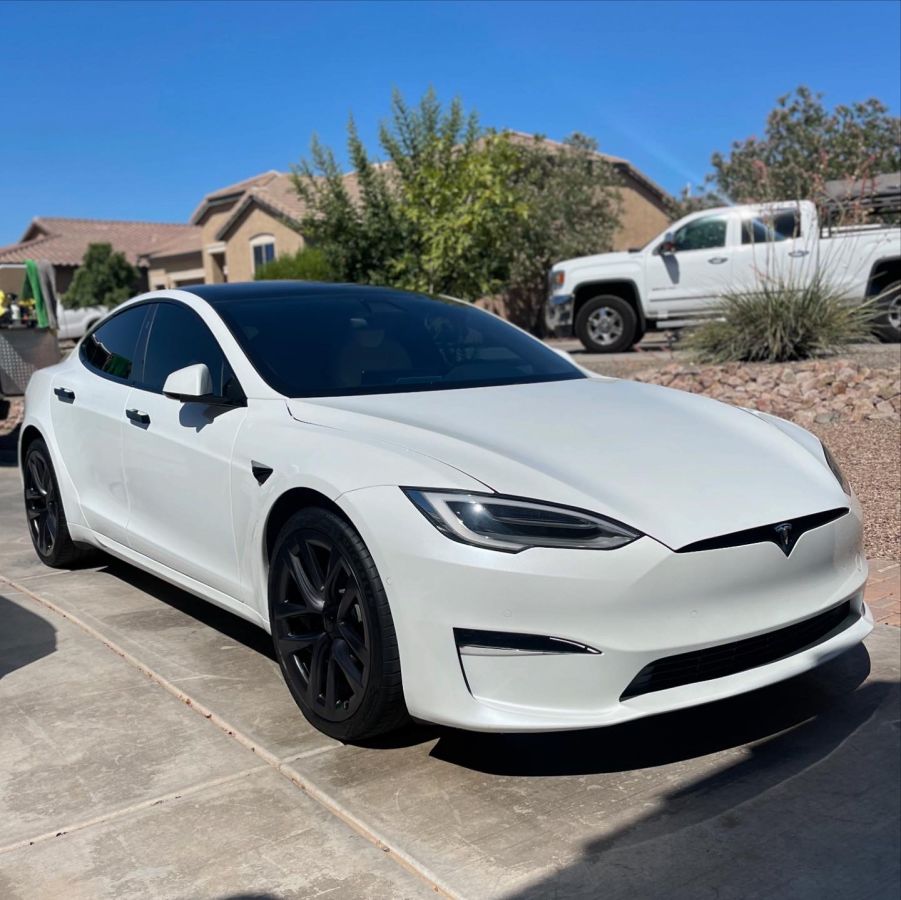
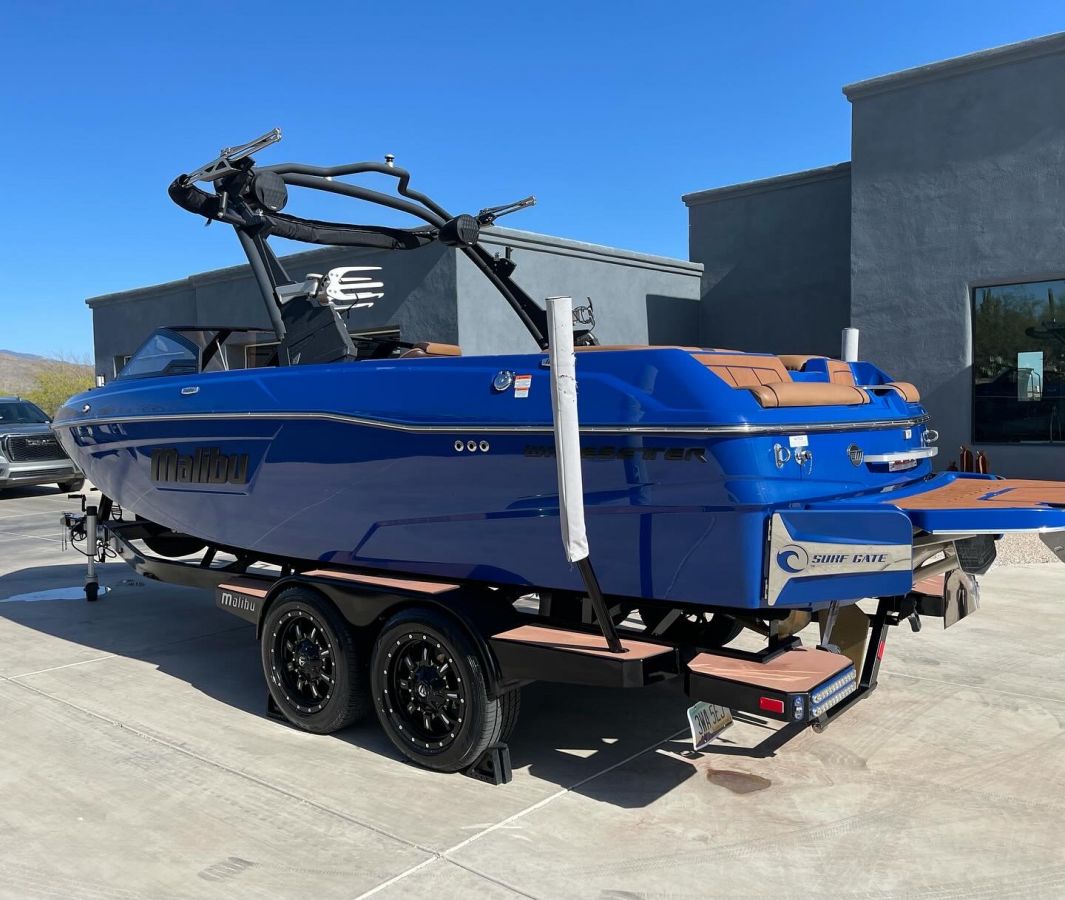
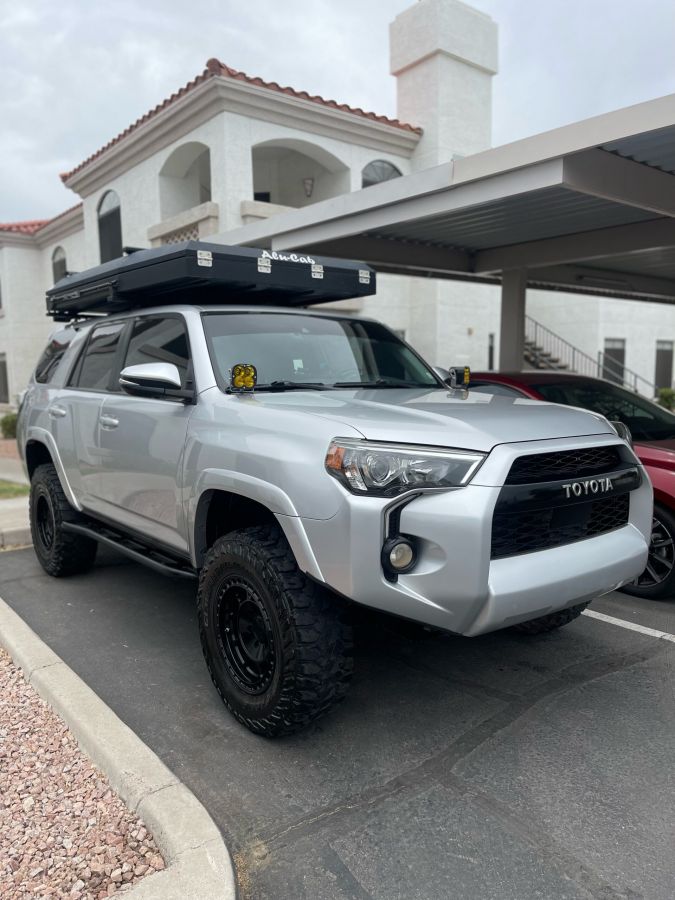
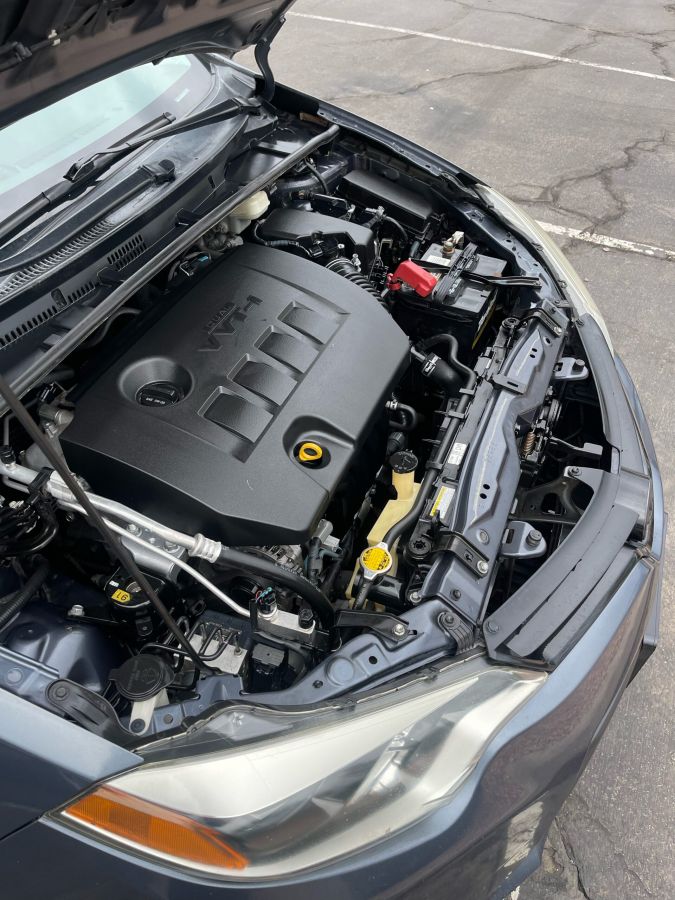
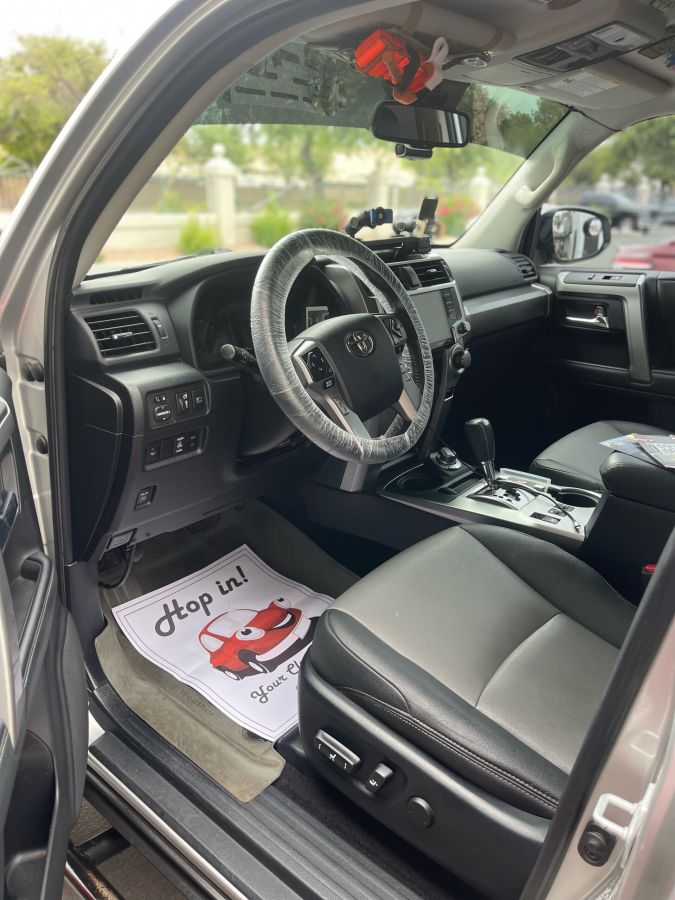
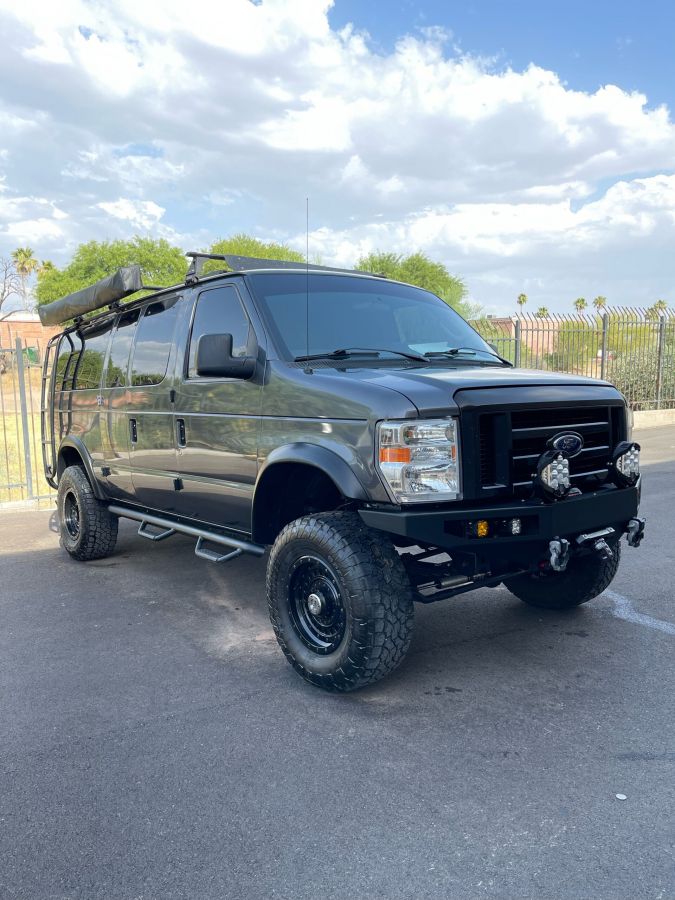
Gallery
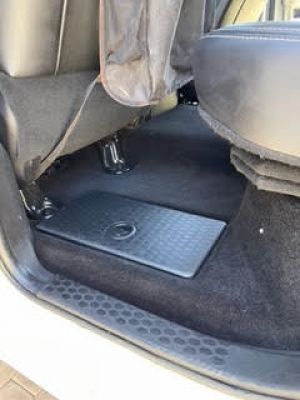
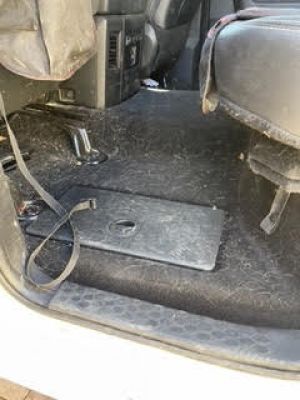
After
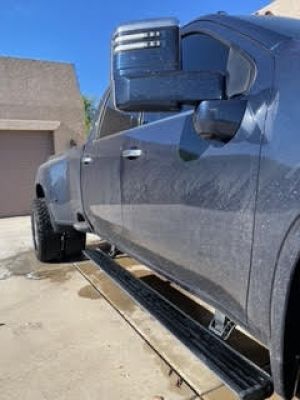
Before
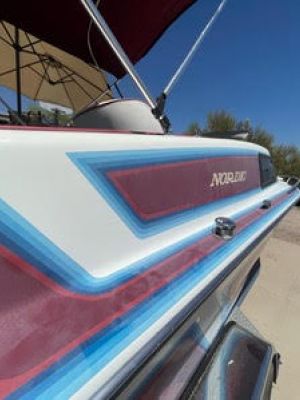
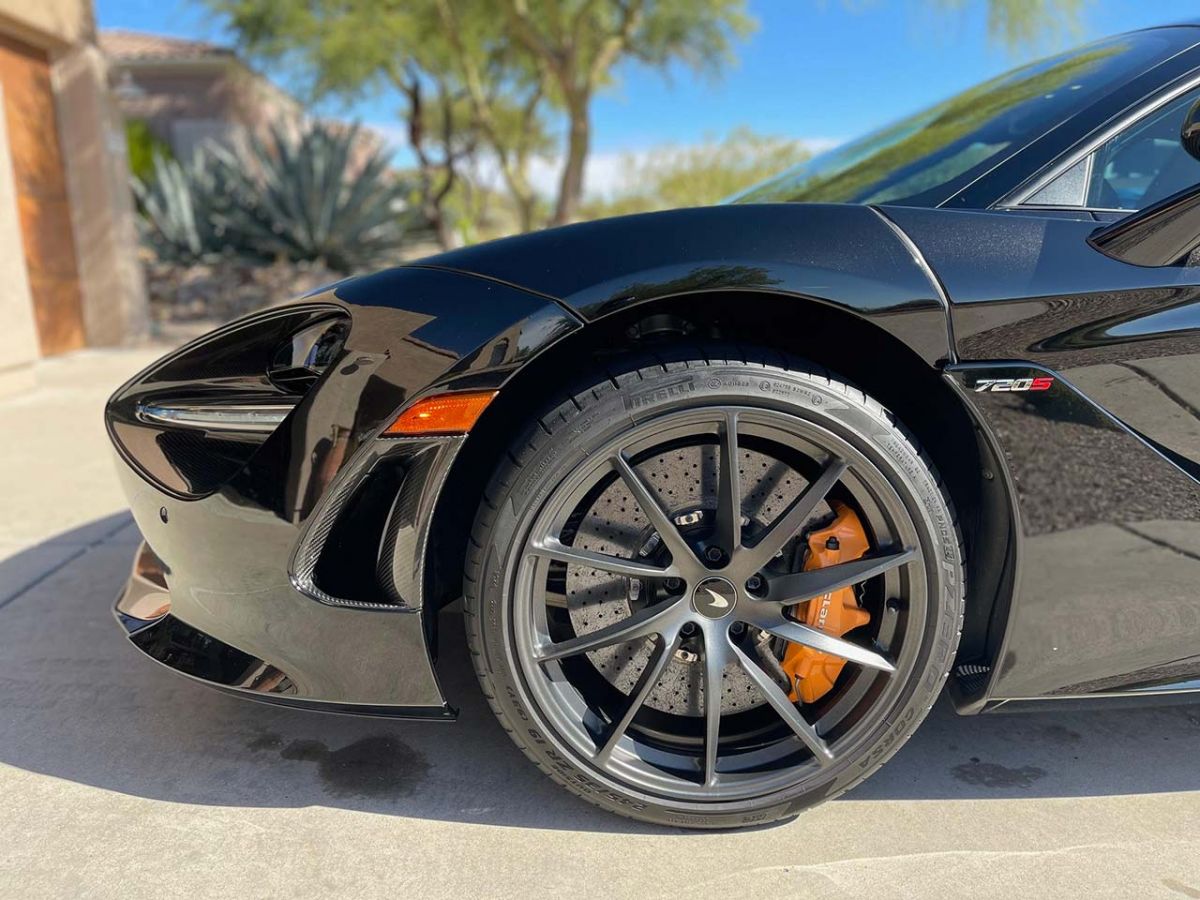
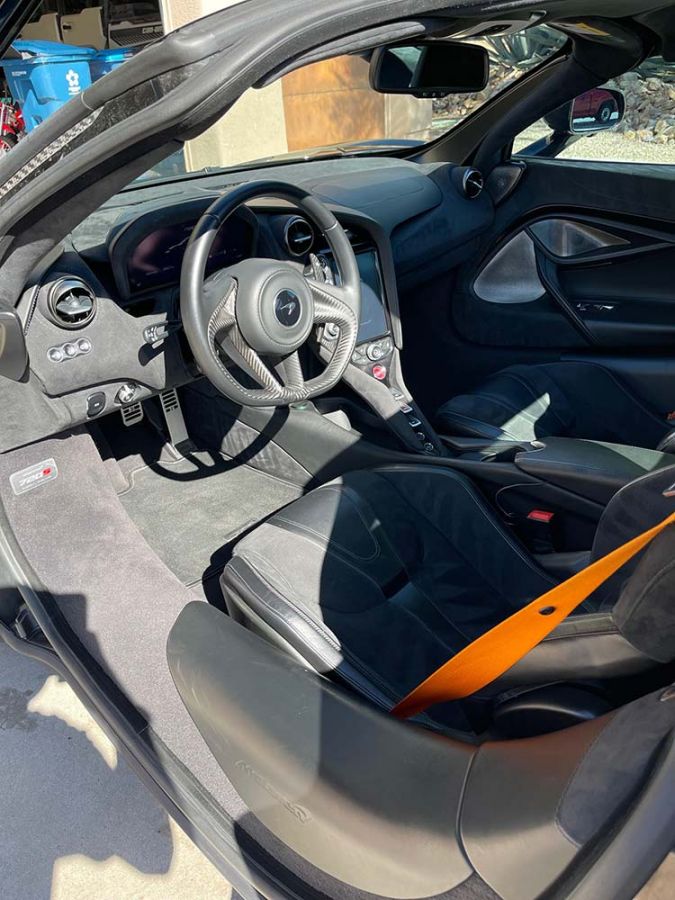
After
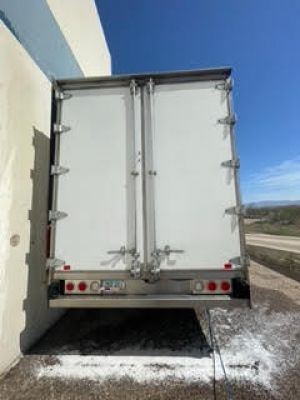
Before
After
Before
After
Before
All
Boats
Fleet
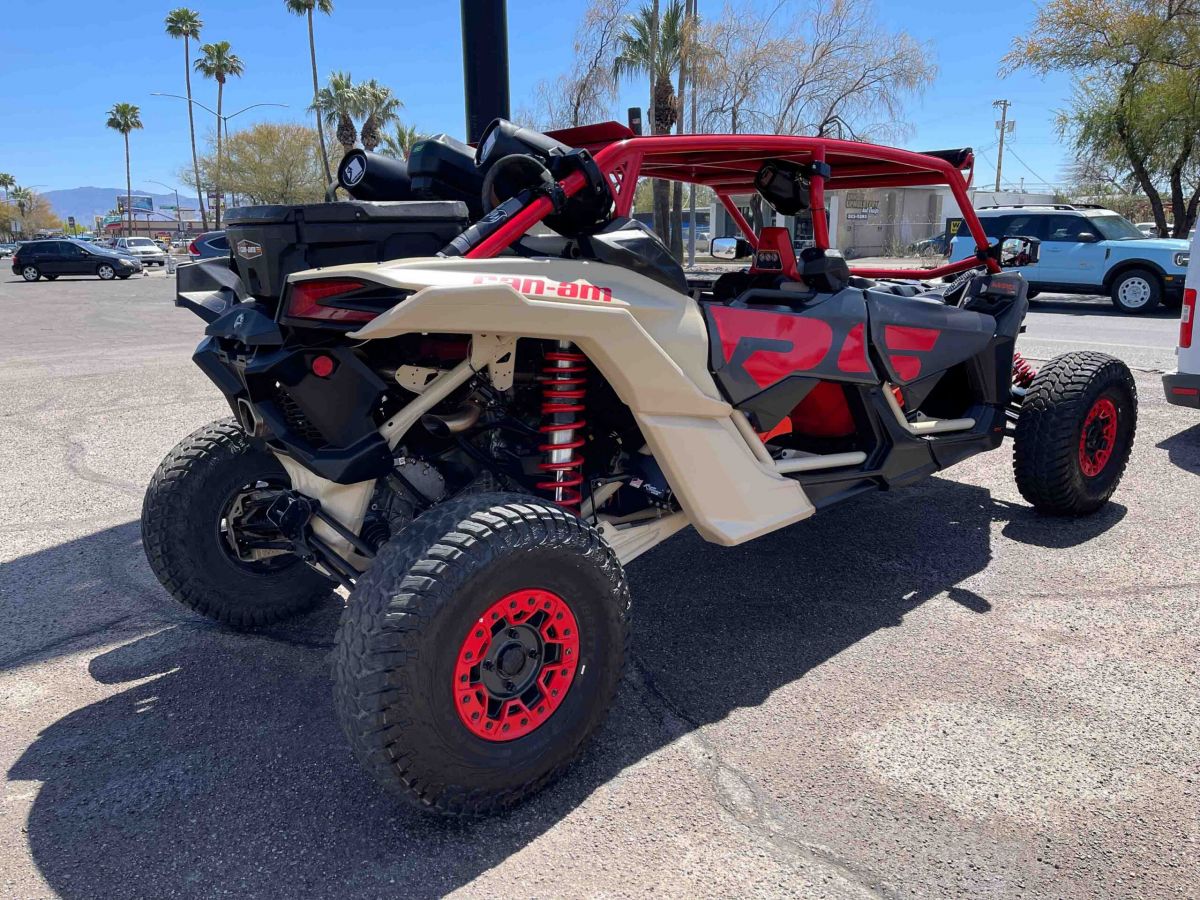
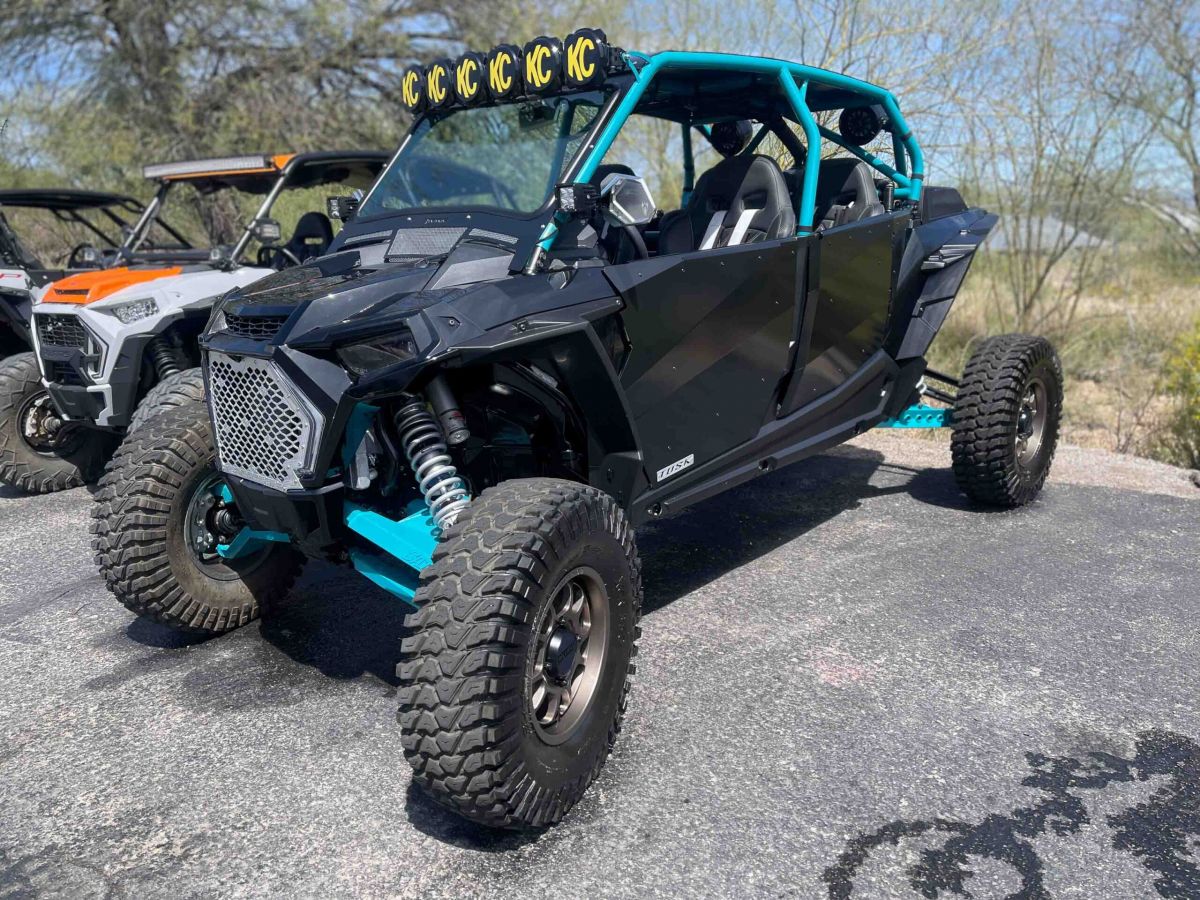
Powersports
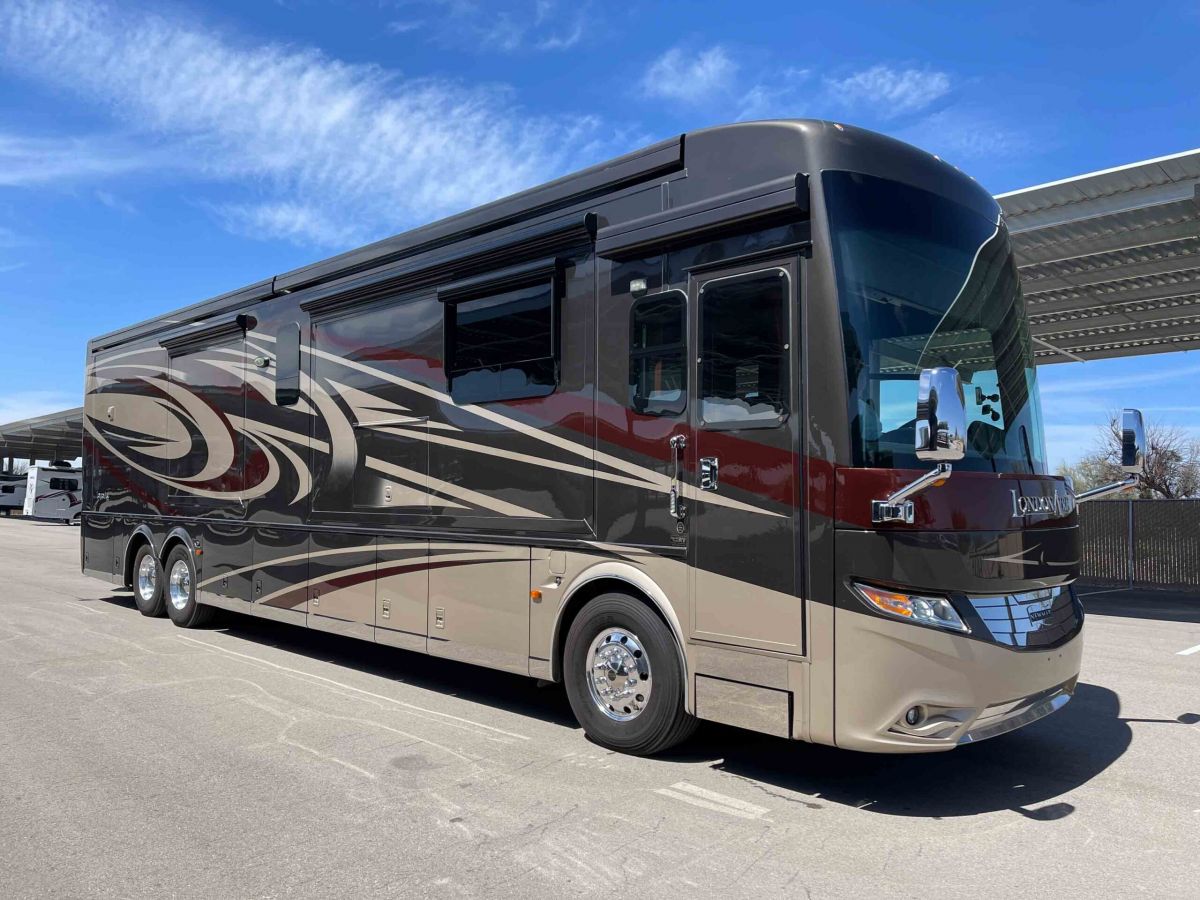
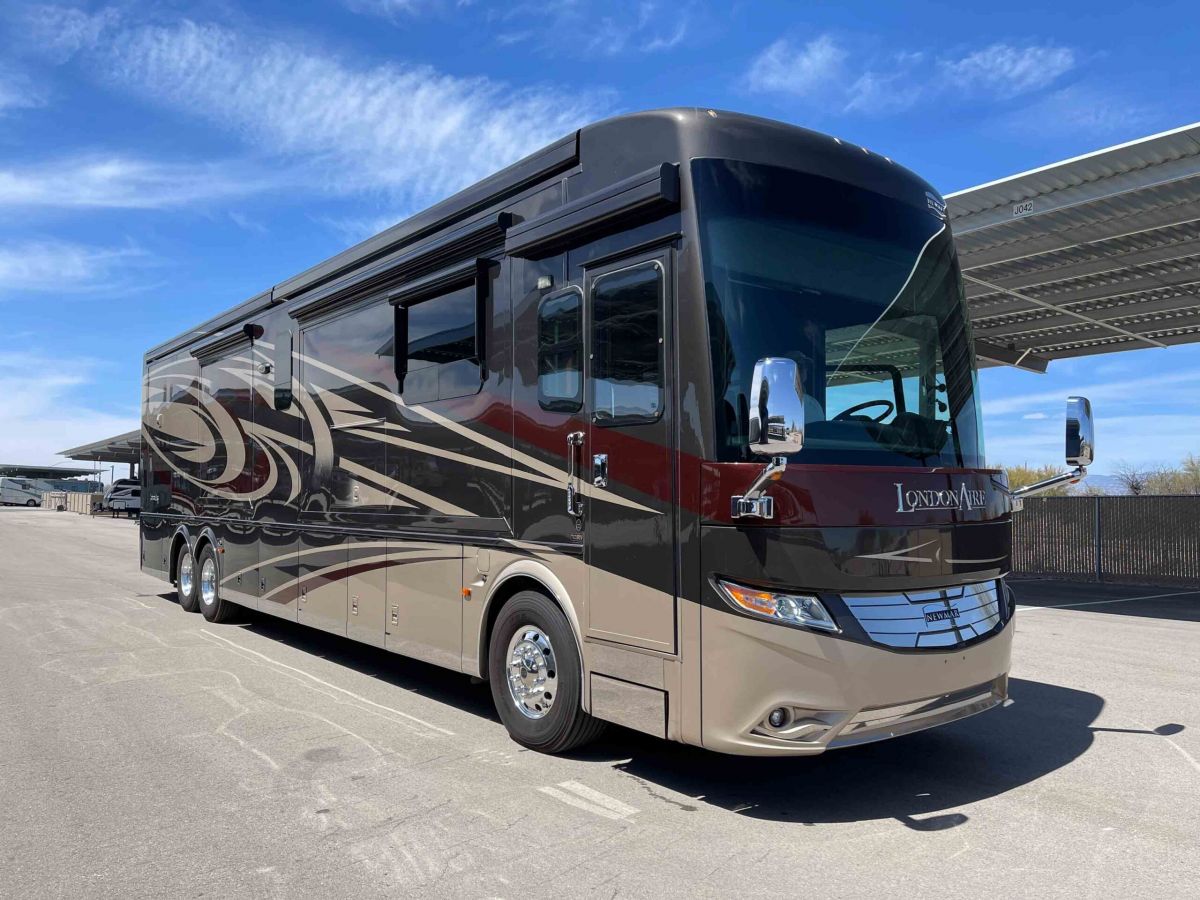
RVs
vehicles